

As an Amazon Associate I earn from qualifying purchases. Some links in this post are affiliate links, at no extra cost to you. You will find more ideas in meal prep. Related reading: recipes.
Open shelving is one of the fastest ways to make a kitchen feel bigger, brighter, and more personal — but it’s also one of the easiest trends to get wrong. Done well, open shelves turn everyday dishes into intentional decor. Done poorly, they just look like clutter with nowhere to hide. Here’s a complete guide to deciding if open shelving is right for your kitchen, how to install it, how to style it so it actually looks good, how it compares to other storage options, where it works especially well, and how to keep it looking good long after installation day.
Why Open Shelving Works in a Modern Kitchen
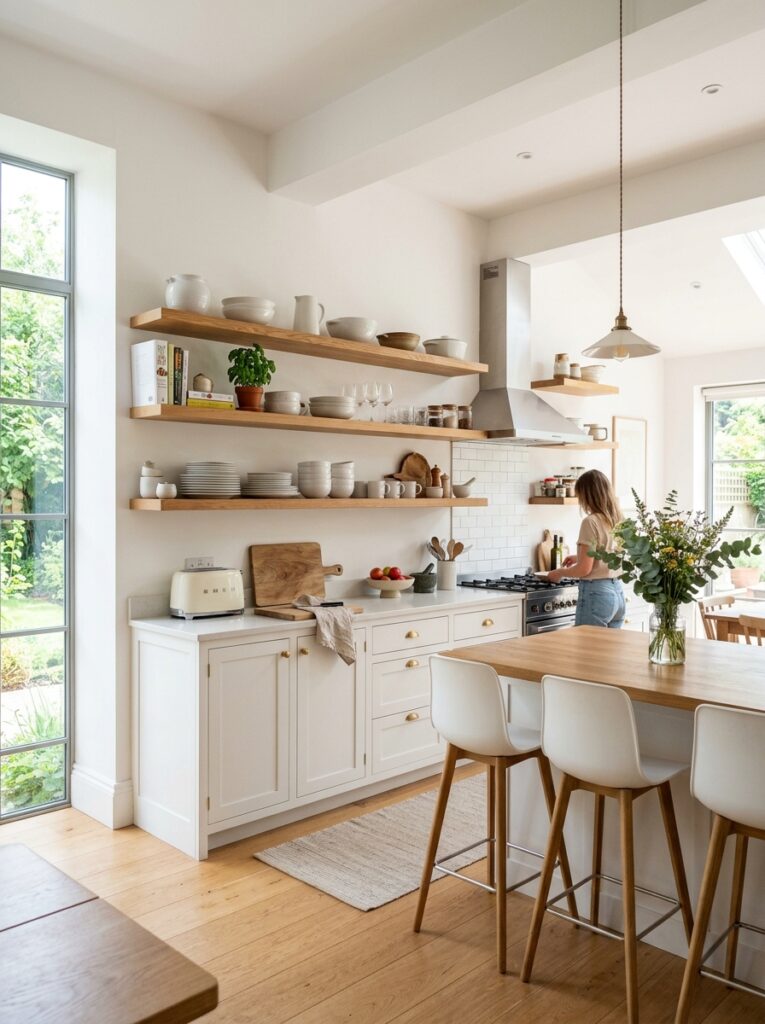
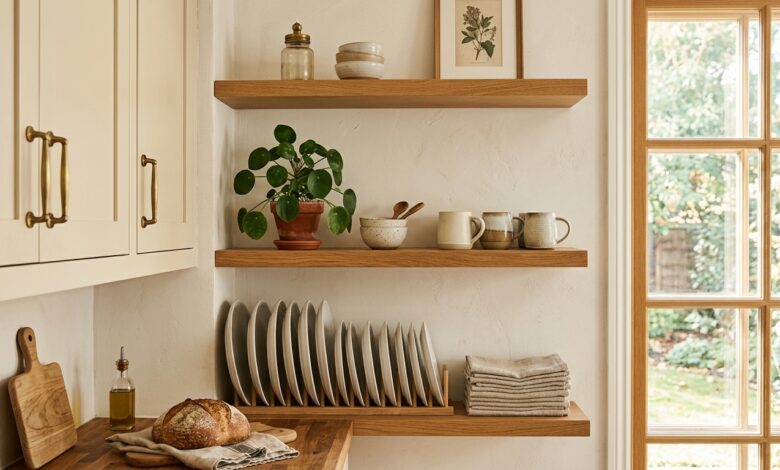
Open shelves visually open up a kitchen in a way closed upper cabinets never can. Removing even one run of cabinet doors lets light bounce further into the room and breaks up the wall of matching cabinetry that can make small or galley kitchens feel boxed in. There’s also a practical case for it: open shelves make everyday items easier to grab, which naturally encourages tidier habits since anything shoved in haphazardly is visible from across the room. For anyone who already owns nice dishware, open shelving finally gives it a place to be seen instead of stacked behind a door. It’s also one of the cheapest kitchen updates available — a few wood boards and brackets cost a fraction of new cabinetry, which is part of why it’s become such a popular kitchen decor move over the last several years.
Is Open Shelving Right for Your Kitchen?
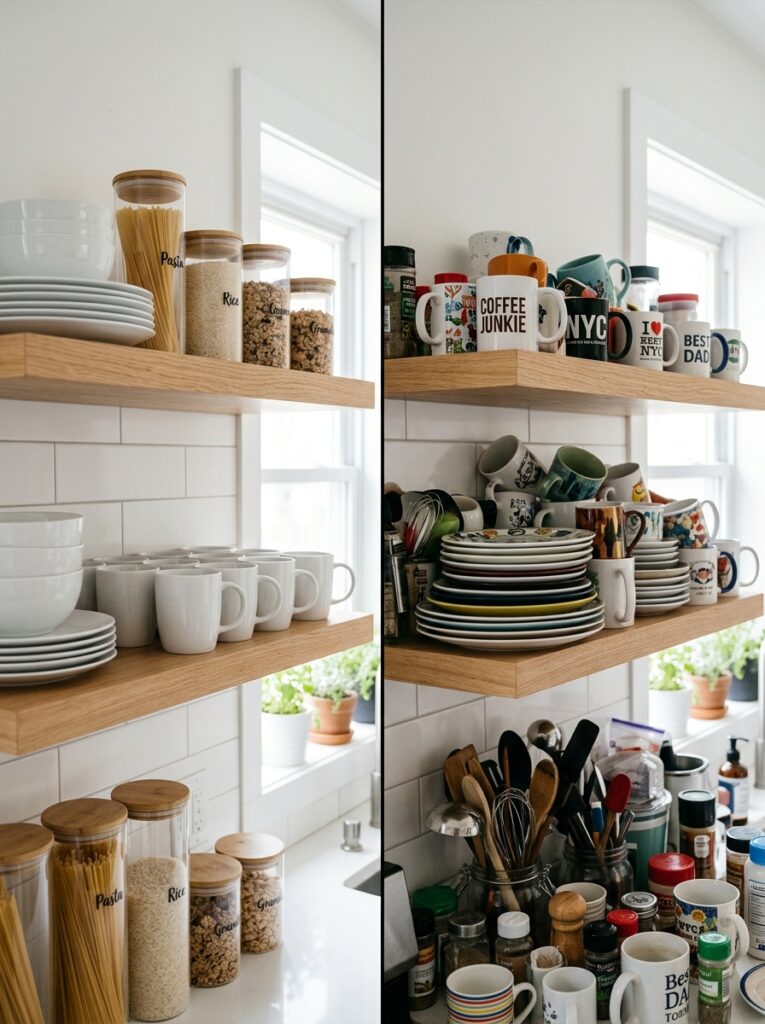
Open shelving isn’t the right fit for every household, so it’s worth being honest about your habits before committing.
- Good fit if: you already keep dishes fairly organized, you cook regularly enough that dust isn’t a major concern, and you have a cohesive-enough dish collection that displaying it doesn’t look chaotic.
- Better to skip or limit it if: you live somewhere greasy stovetop splatter travels far, you tend to accumulate mismatched mugs and containers, or you rent and can’t drill into the walls.
- A middle ground: many kitchens do best with one or two runs of open shelving paired with closed cabinets for the less photogenic items — see the mixed-storage section below.
Choosing the Right Wood and Finish
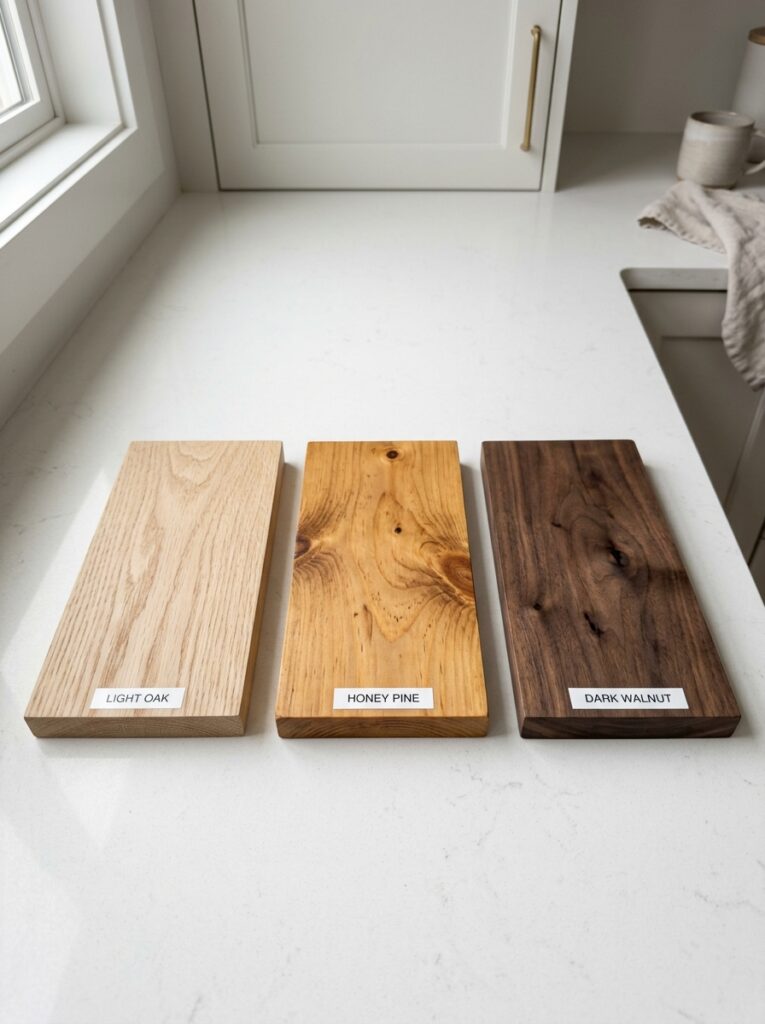
The material of the shelf itself does more visual work than almost anything you put on it. Warm, honey-toned woods like oak, ash, or pine read as cozy and current, especially against white or cream walls. Darker walnut tones work well in kitchens with black hardware and darker cabinetry. For a more modern, minimal look, a simple white-painted floating shelf disappears into the wall and lets the objects on it do all the visual work instead. Avoid high-gloss or heavily lacquered finishes in a kitchen — they show grease and water spots far more obviously than a matte or lightly oiled finish, and a matte finish is also easier to wipe down without streaking. If you’re matching existing cabinetry, bring a cabinet door sample or paint chip with you when shopping for shelf boards, since wood tones can look noticeably different under hardware store lighting than they will in your own kitchen.
Placement and Height: Where Open Shelves Actually Belong
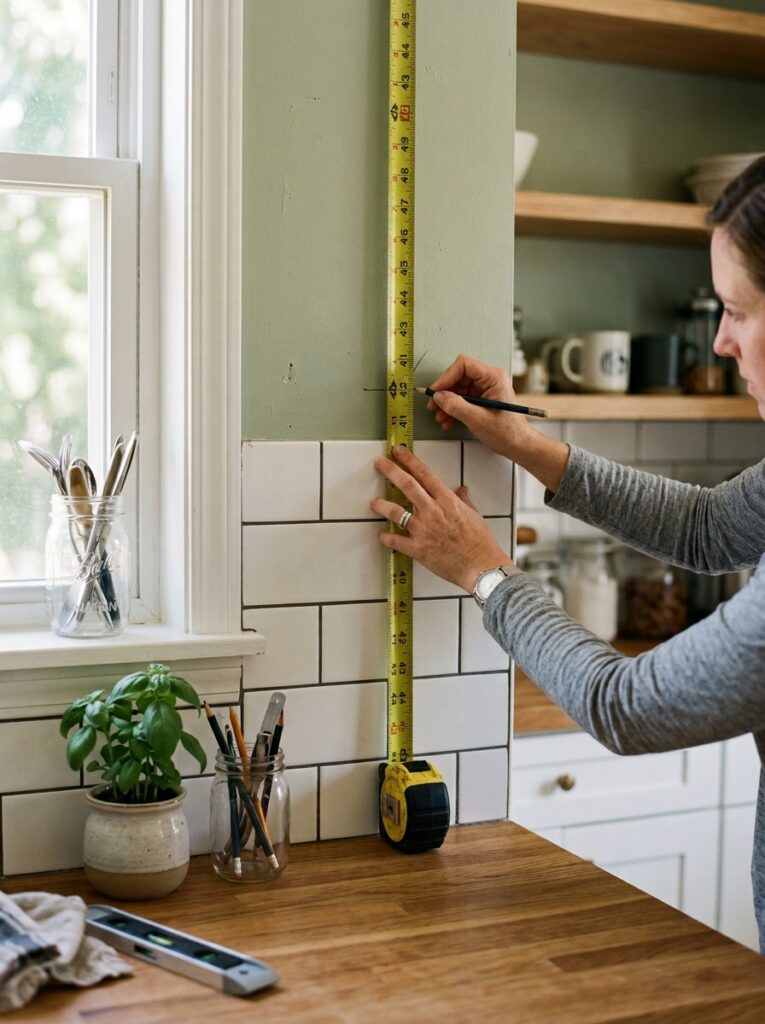
Most open shelves are hung 15–18 inches above the countertop for the bottom shelf, matching where a lower cabinet would typically end, and additional shelves are spaced 10–12 inches apart above that. Placing shelves too high makes them hard to reach and use daily; too low and they crowd the counter workspace. A common layout uses two to three shelves in a single run, rather than stacking four or five, which keeps the look airy rather than turning into a solid wall of open storage that defeats some of the original point. Corners and the wall beside a window are especially good spots, since natural light makes whatever’s displayed there look its best throughout the day. Measure your own reach before finalizing heights, too — a shelf that’s comfortable for a taller household member to use daily might sit awkwardly high for someone shorter, so it’s worth testing with a piece of tape on the wall before drilling anything permanent.
Floating Shelf Installation Basics
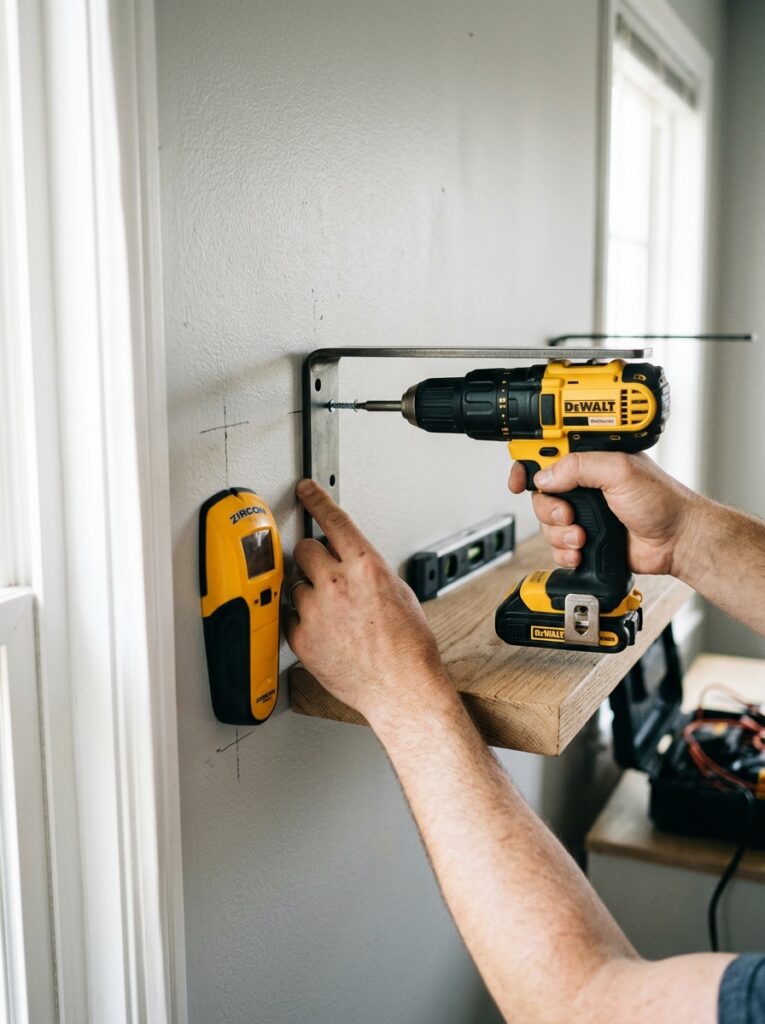
A floating shelf needs to be anchored into wall studs, not just drywall anchors, if it’s going to hold real dishware safely — a stud finder is worth the ten dollars before you start. Most floating shelf brackets are rated for 25–50 pounds depending on the bracket type and how many studs they hit, so check the weight rating before loading up a shelf with heavy stoneware or a stack of cookbooks. Pilot-drill your holes before driving screws, especially into hardwood shelving, to avoid splitting the wood. If you’re not confident drilling into studs or dealing with anchors rated for your specific wall type, this is one kitchen project worth hiring out — a poorly anchored shelf loaded with dishes is a real safety risk, not just a cosmetic one.
Styling Principles: The Rule of Three and Visual Balance
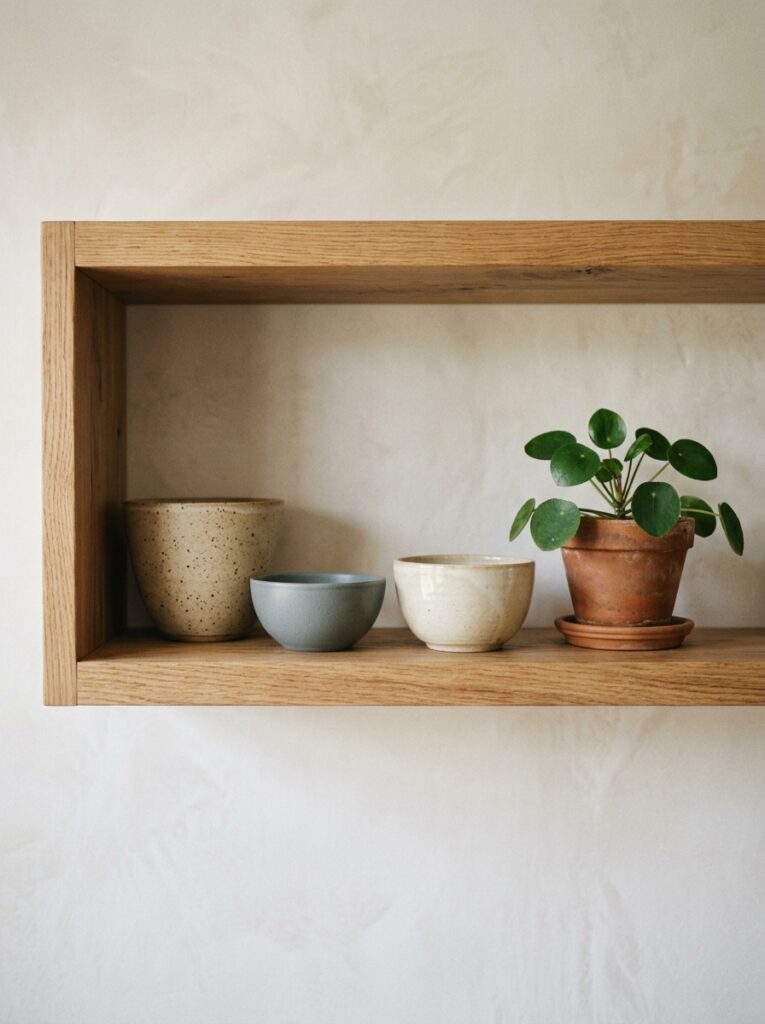
Odd numbers of objects grouped together read as more intentional than even numbers — three plates leaned in a stand, or three bowls stacked, looks more curated than two or four. Vary height within each grouping: a tall pitcher next to a stack of shorter bowls creates visual interest that a row of identical-height objects doesn’t. Leave visible negative space on every shelf rather than filling every inch — packed shelves read as storage, while shelves with breathing room read as display. A helpful trick is styling from a distance: step back to the middle of the kitchen periodically while arranging, since shelf styling that looks fine up close can look cluttered from where people actually stand. The same grouping rules work on any shelf in the house; here is how to style any shelf like a pro.
What to Display vs What to Hide
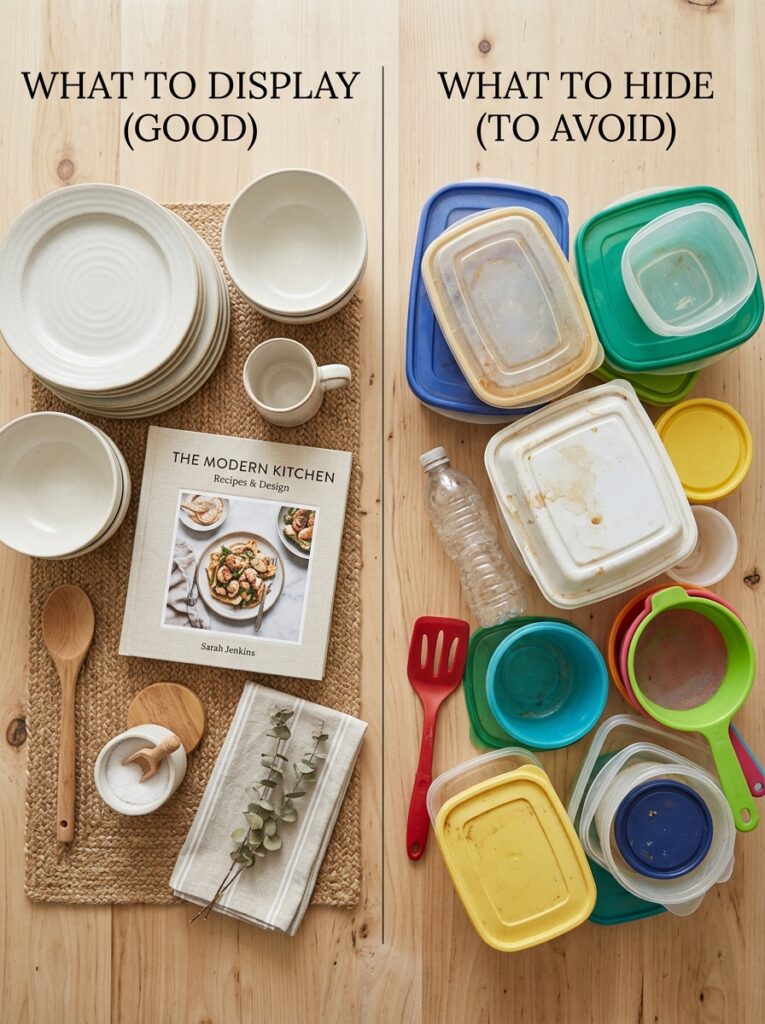
Not everything in your kitchen deserves a spot on an open shelf. Good candidates include your everyday dish set if it’s a cohesive color or pattern, a collection of glassware, cookbooks with attractive spines, and a few plants or ceramic pieces for texture. Keep off the shelf anything mismatched, anything you rarely use, and anything plastic — plastic storage containers and novelty mugs are the fastest way to make an otherwise nice shelf look like a garage sale. If you love a piece but it doesn’t match your everyday dishware, use it as an accent object rather than in daily rotation, styled alongside a plant or stack of cookbooks instead of with the rest of your plates.
Color Palette and Materials for a Cohesive Look
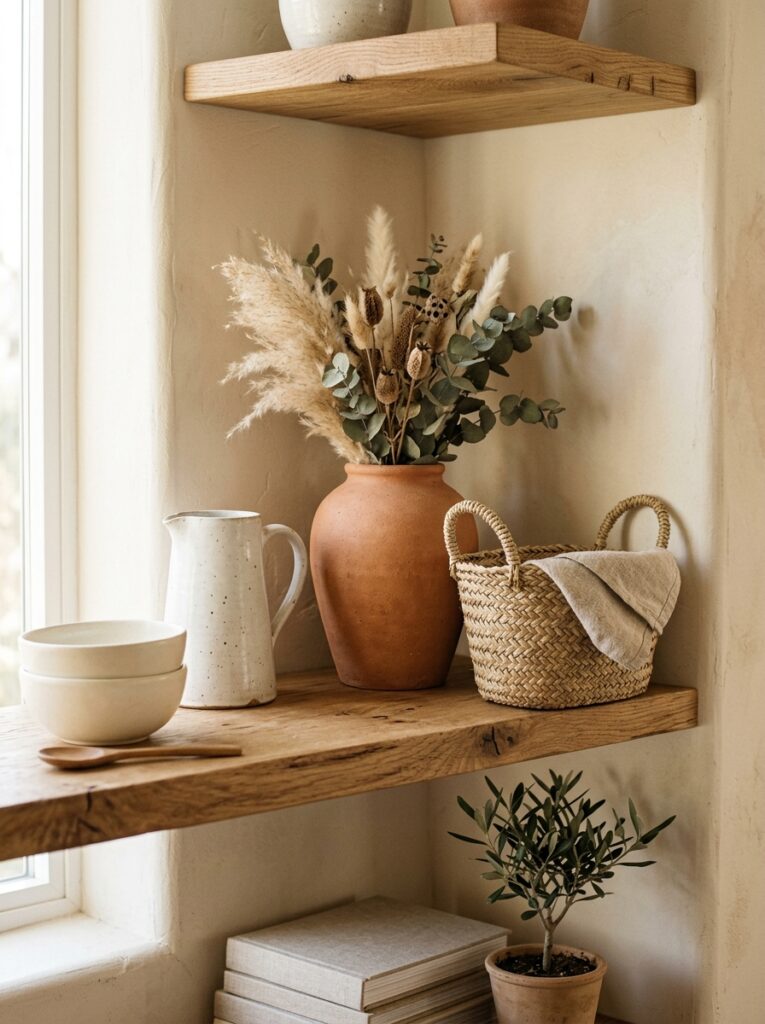
The single biggest thing separating a Pinterest-worthy open shelf from a cluttered one is a limited color palette. Sticking to two or three tones — say, white ceramic, warm wood, and a touch of terracotta or sage green — makes an entire shelf read as one cohesive display even if the objects themselves are all different shapes. Mixing in varied textures within that limited palette (a woven basket, a smooth ceramic bowl, a linen napkin folded on the shelf) adds visual interest without adding visual noise. If your dish collection is genuinely mismatched and colorful, consider limiting the open shelf to a curated subset — your white everyday plates, for instance — and keeping the more colorful pieces in a closed cabinet.
Open Shelving in a Small Kitchen
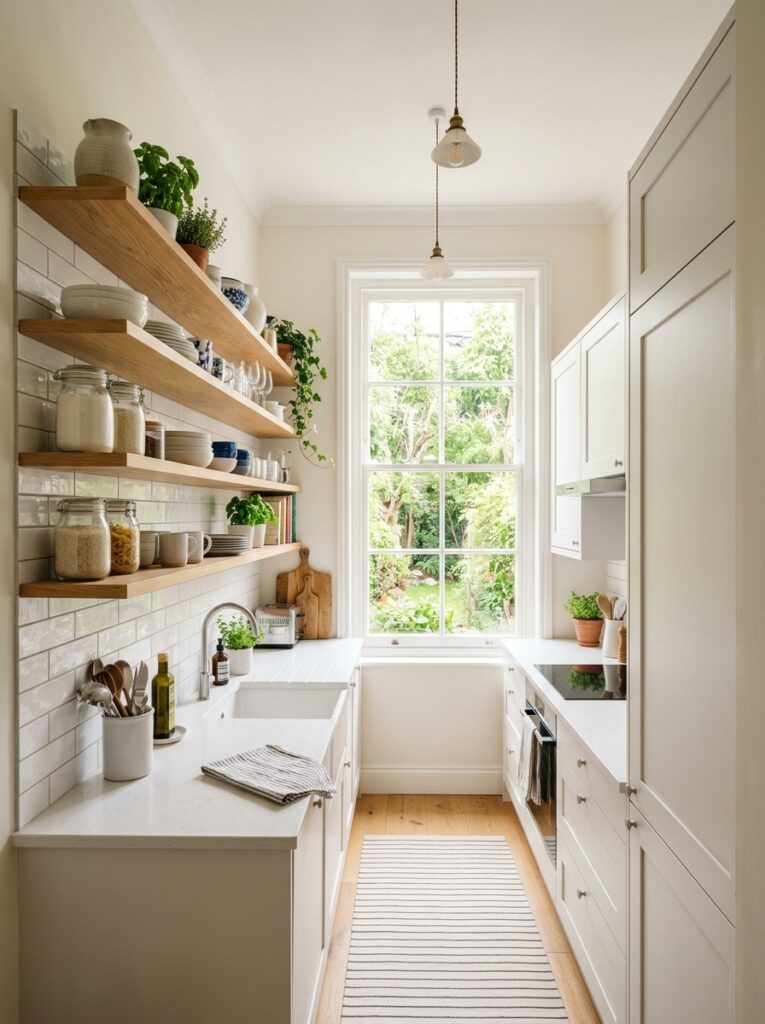
Small kitchens benefit the most from open shelving precisely because they have the least visual room to spare — see our full breakdown in small kitchen organization ideas for more on maximizing tight spaces. A single well-placed open shelf above a small counter run can replace an upper cabinet’s worth of storage while making the wall feel less heavy. In a galley or one-wall kitchen, open shelving on just one side, paired with closed storage on the other, keeps the room from feeling like it’s entirely made of shelving while still opening things up visually.
Open Shelving in a Rental
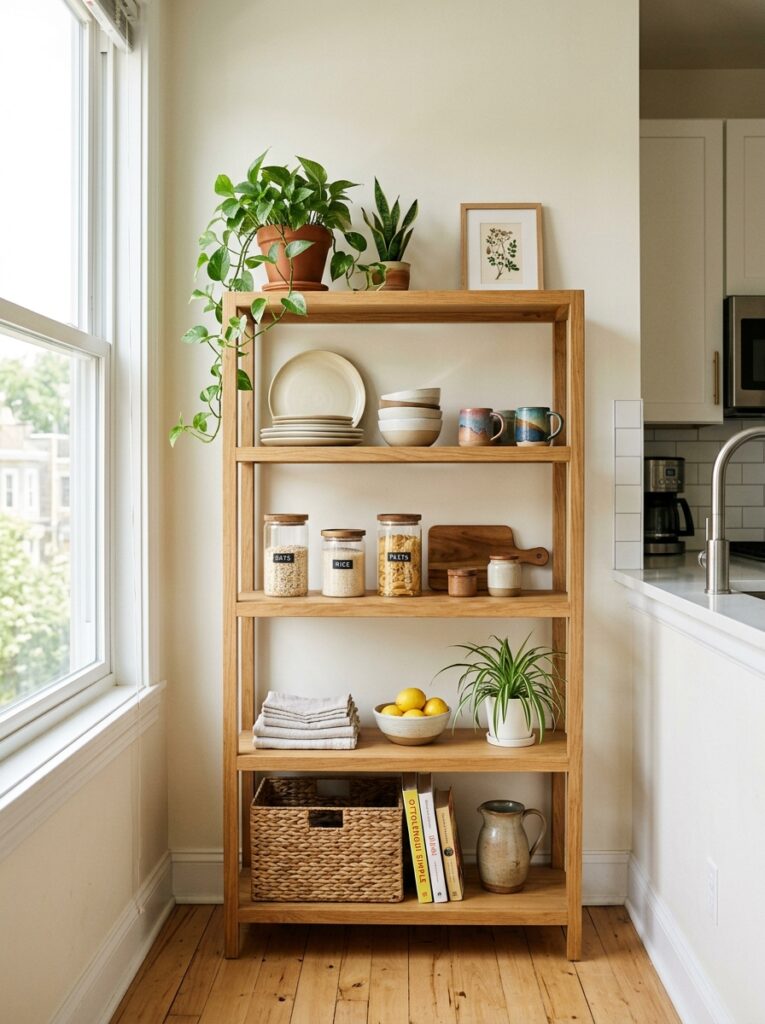
Renters can still get the look without drilling permanent holes into a wall they don’t own, using a few renter-friendly approaches: heavy-duty adhesive shelf brackets rated for kitchen use, a freestanding shelving unit placed against the wall instead of mounted, or a tension rod shelf system that wedges between floor and ceiling. For more ideas specific to rental constraints, see our guide on small kitchen decor on a rental budget. Always check your lease before drilling anything, and when in doubt, choose a freestanding option that leaves zero permanent marks when you move out.
Mixing Open Shelves with Closed Cabinets
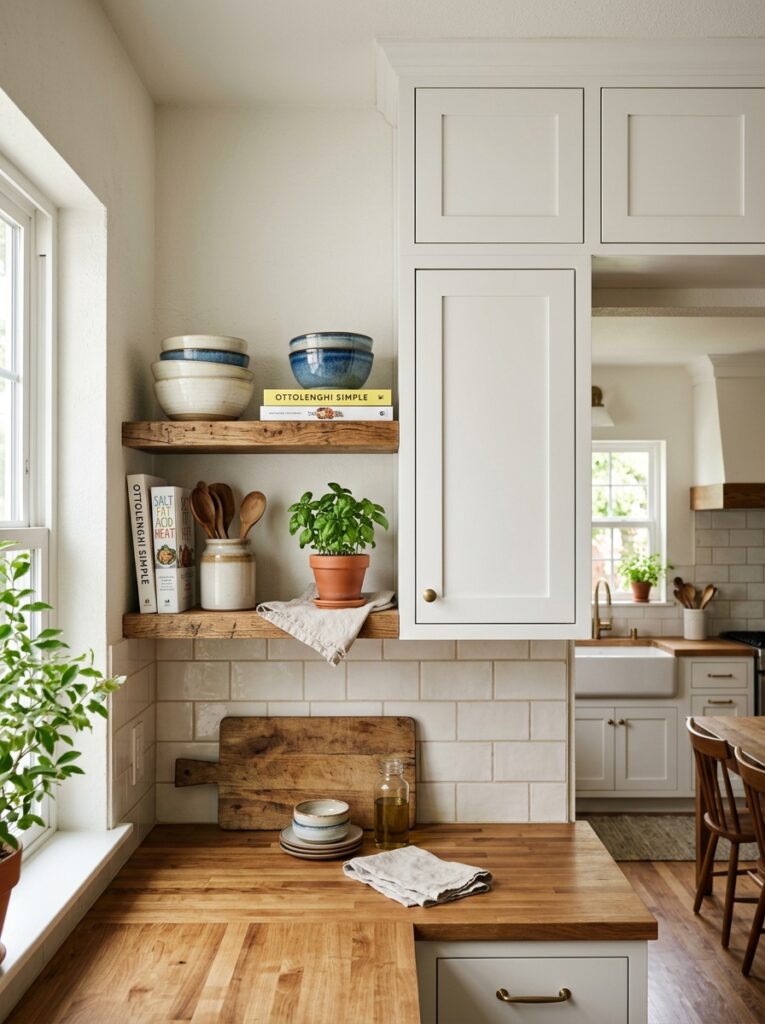
Full open shelving isn’t required to get the benefits — many of the best-looking kitchens use open shelves for one section and keep the rest of their upper storage closed. A common approach is opening up the wall beside a window or range hood while leaving the cabinets flanking the sink closed, which hides less attractive items like cleaning supplies and food storage while still giving the kitchen an open, layered feel. This mixed approach is also the most forgiving for households with mismatched dishware, since only the most photogenic pieces need to go on display.
Open Shelving for Coffee and Tea Stations
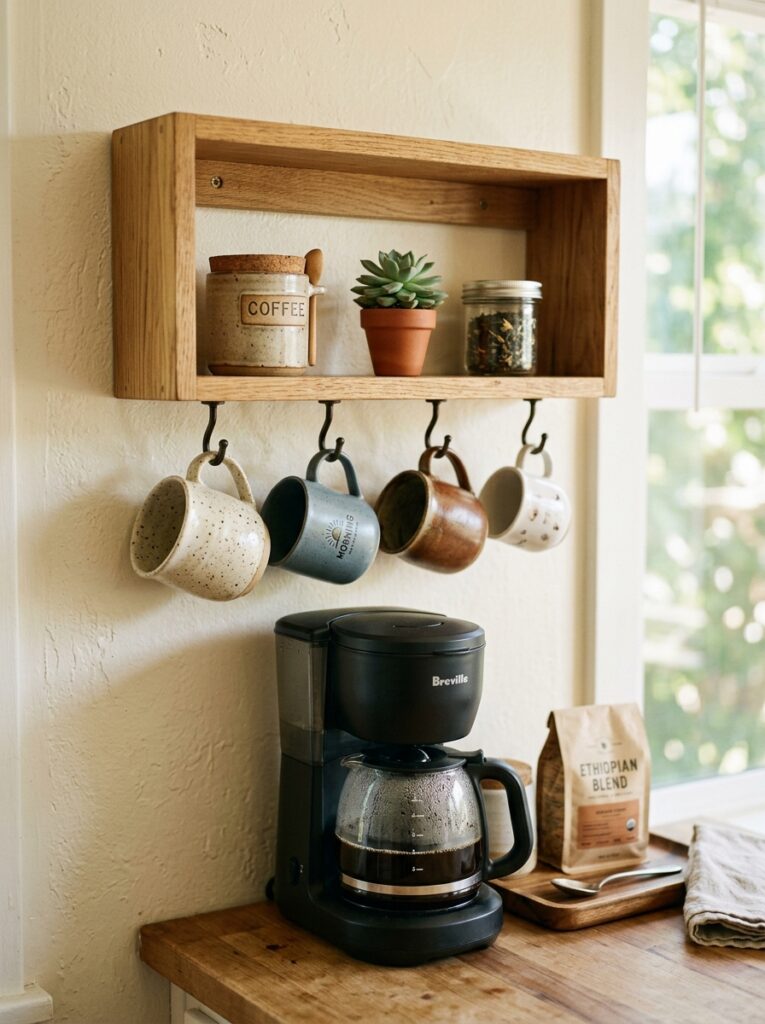
A coffee or tea station is one of the easiest places to add a small run of open shelving, since it’s a naturally contained area with its own built-in styling theme. A single shelf above a coffee maker can hold a few favorite mugs hung on hooks underneath, a small canister of coffee or tea, and a plant or small piece of art for warmth. Because this area typically sees less grease splatter than the main stove, it’s often the most forgiving spot in the kitchen to start with open shelving if you’re not ready to commit to a bigger run elsewhere. It’s also a low-stakes place to practice the styling principles above before tackling a larger, more visible section of the kitchen.
Open Shelving vs Glass-Front Cabinets
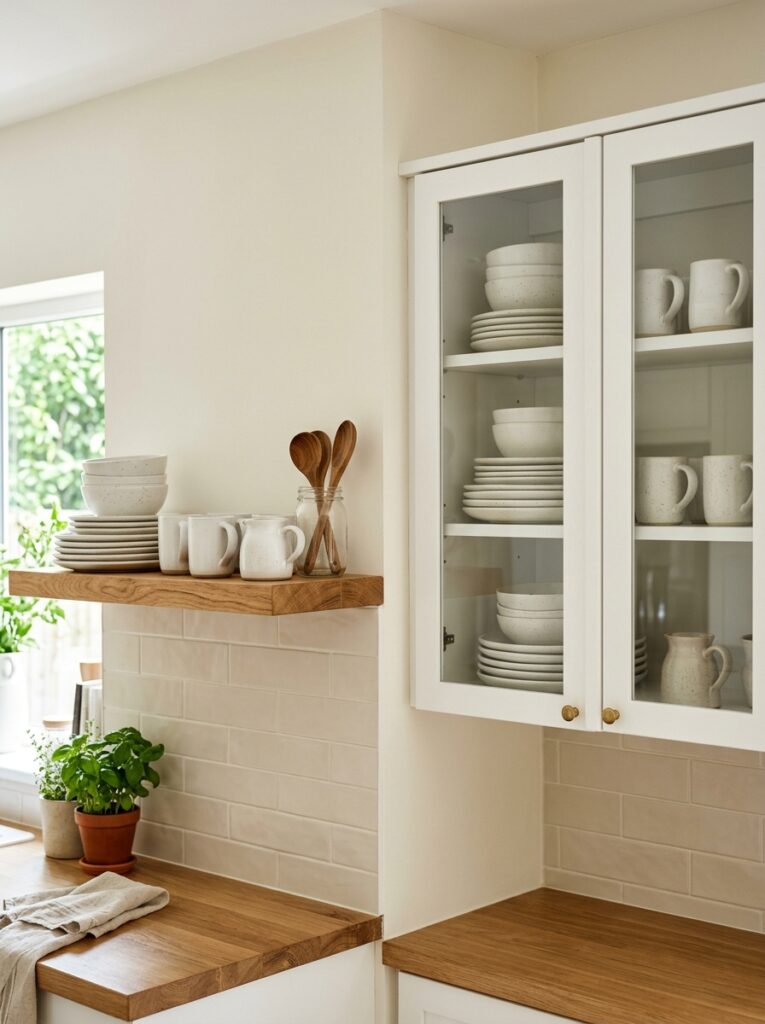
If full open shelving feels like too much commitment, glass-front cabinets offer a middle path worth considering. They give a similar light, curated look while still keeping dust and grease off your dishware, which matters a lot if your kitchen sees heavy daily cooking. The tradeoff is cost and effort — swapping cabinet doors for glass fronts is a bigger project than hanging a floating shelf, and it still requires the same curated styling discipline, since a messy interior is just as visible behind glass as it would be on an open shelf. For kitchens near a busy stove, glass-front cabinets on that specific run paired with true open shelving elsewhere often gives the best of both approaches. If you want to go further, cooking tips covers it in detail.
Does Open Shelving Affect Resale Value?
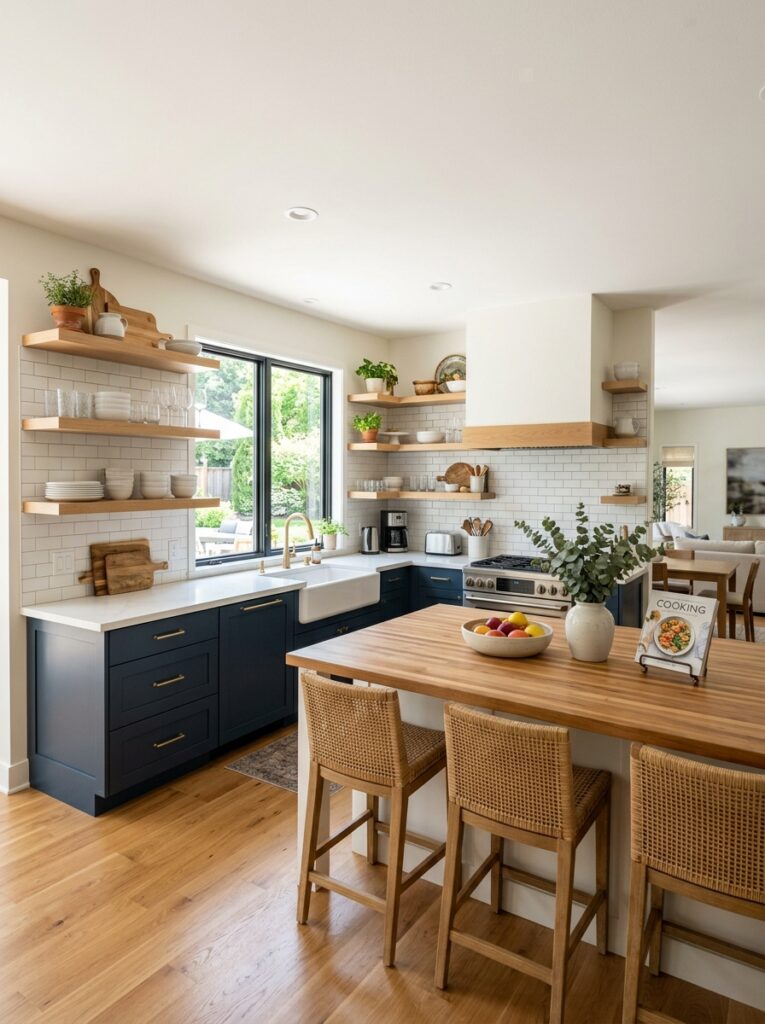
Real estate opinions on open shelving are mixed, and it largely comes down to buyer taste and how well it’s executed. Well-styled open shelving photographs beautifully for listings and can make a kitchen feel more spacious and updated, which is a genuine selling point. On the other hand, some buyers see open shelving as impractical or high-maintenance compared to closed cabinets, and a poorly styled or overloaded shelf can actively hurt a listing’s first impression. If resale value is a real concern, a safer approach is choosing removable floating shelves that can be taken down and the wall patched before selling, or limiting open shelving to one accent wall rather than replacing all upper cabinet storage.
Lighting for Open Shelves
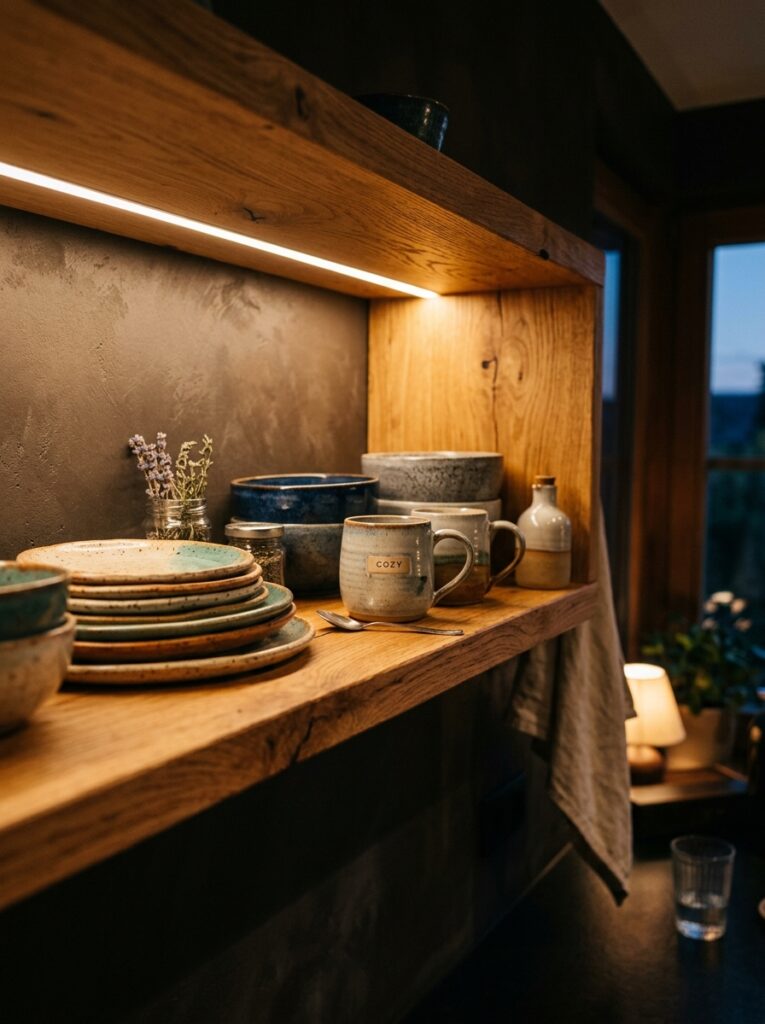
Under-shelf LED strip lighting makes a real difference for both function and mood, especially on a shelf positioned over a work area like a coffee station or prep counter. Battery-powered puck lights are the easiest renter-friendly option, since they stick on with adhesive and need no wiring. Warm-toned bulbs (around 2700K) flatter wood tones and ceramics far better than cool white light, which can make a warm kitchen palette look sterile. Even without dedicated shelf lighting, positioning open shelves near a window means natural light does most of the styling work for free during the day.
Keeping Open Shelves Clean and Dust-Free
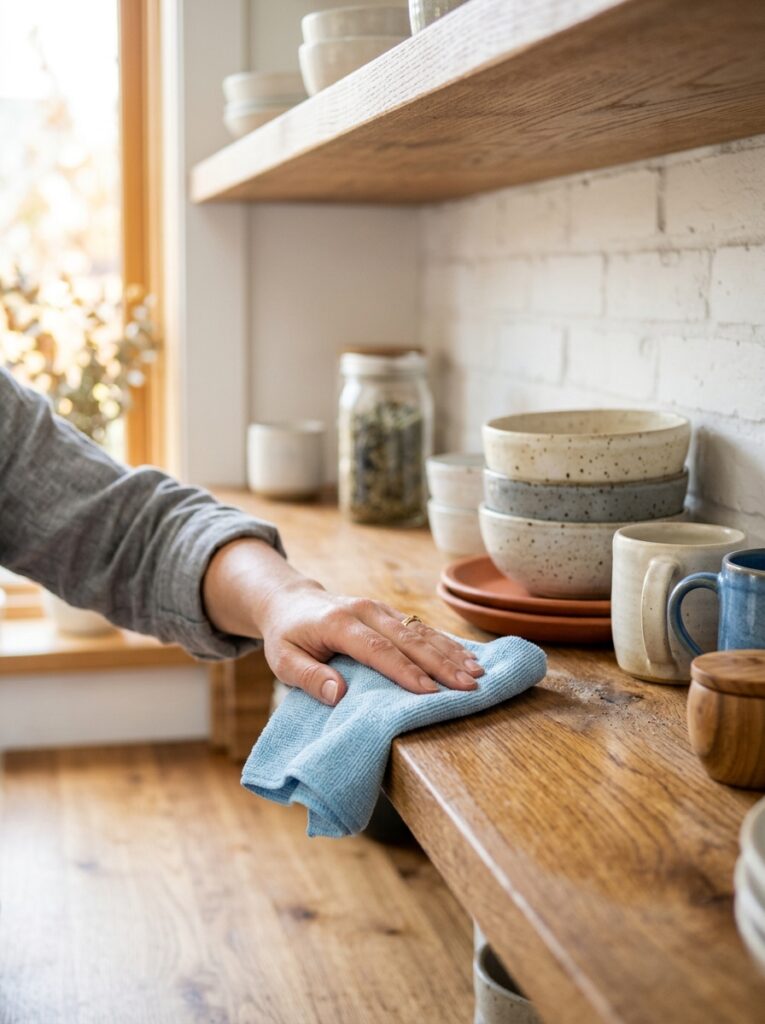
The most common complaint about open shelving is dust and grease buildup, and the fix is mostly about placement and maintenance rather than avoiding open shelves altogether. Keep open shelves away from the direct splatter zone above the stove, and give shelves a quick wipe-down weekly rather than letting dust settle for a month. Storing dishware upside down when it’s not for daily use keeps interiors dust-free between uses. If your kitchen sees heavy stovetop cooking, consider open shelving on the wall opposite the range rather than directly above it, which cuts down on grease exposure significantly.
Seasonal Restyling: Keeping Open Shelves Fresh
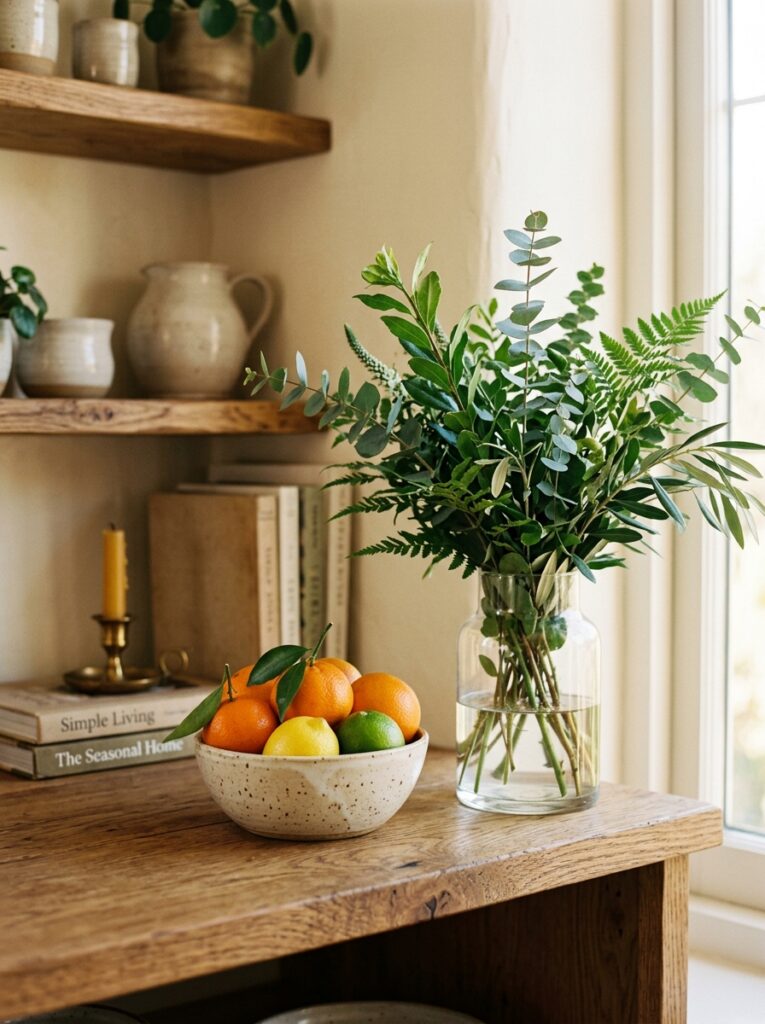
One underrated benefit of open shelving is how easy it makes seasonal refreshes compared to a fully closed kitchen. Swapping in a few seasonal accents — a bowl of citrus in winter, a small vase of fresh herbs or flowers in summer, warmer ceramic tones in fall — keeps the display feeling current without any real cost or effort. Because open shelves are already meant to hold a curated, rotating selection rather than every dish you own, it’s easy to keep a small box of seasonal accent pieces and swap two or three items every few months. This is also a good moment to reassess what’s actually getting used versus what’s just sitting there for looks, and rotate underused pieces back into closed storage.
Budget Breakdown: Cost of Adding Open Shelving
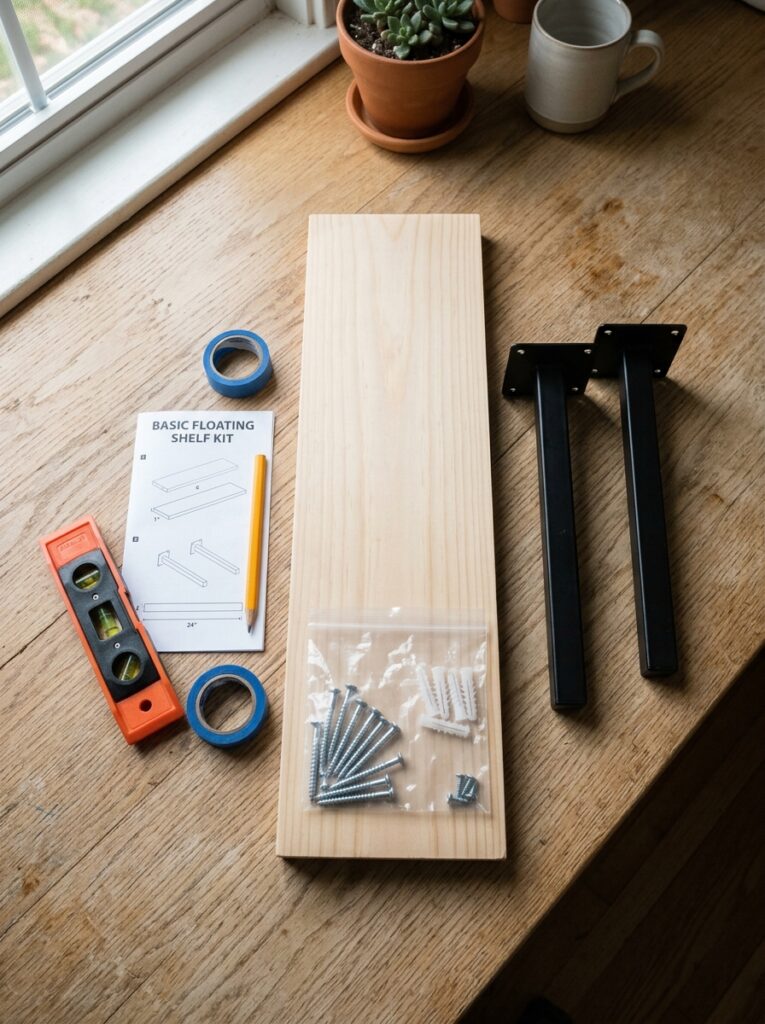
A basic DIY floating shelf project — two or three shelves, brackets, and finish — typically runs $60–$150 for a small kitchen using pre-made floating shelf kits from a hardware store, or less if you build your own from a wood board and hidden bracket hardware. Higher-end hardwood shelves with metal bracket accents can run $200–$400 for a full kitchen. Compare that to the cost of new upper cabinets, which easily runs into the thousands, and open shelving is one of the most budget-friendly ways to visually update a kitchen — see our aesthetic kitchen decor on a budget guide for more low-cost styling ideas that pair well with shelving.
Common Mistakes to Avoid
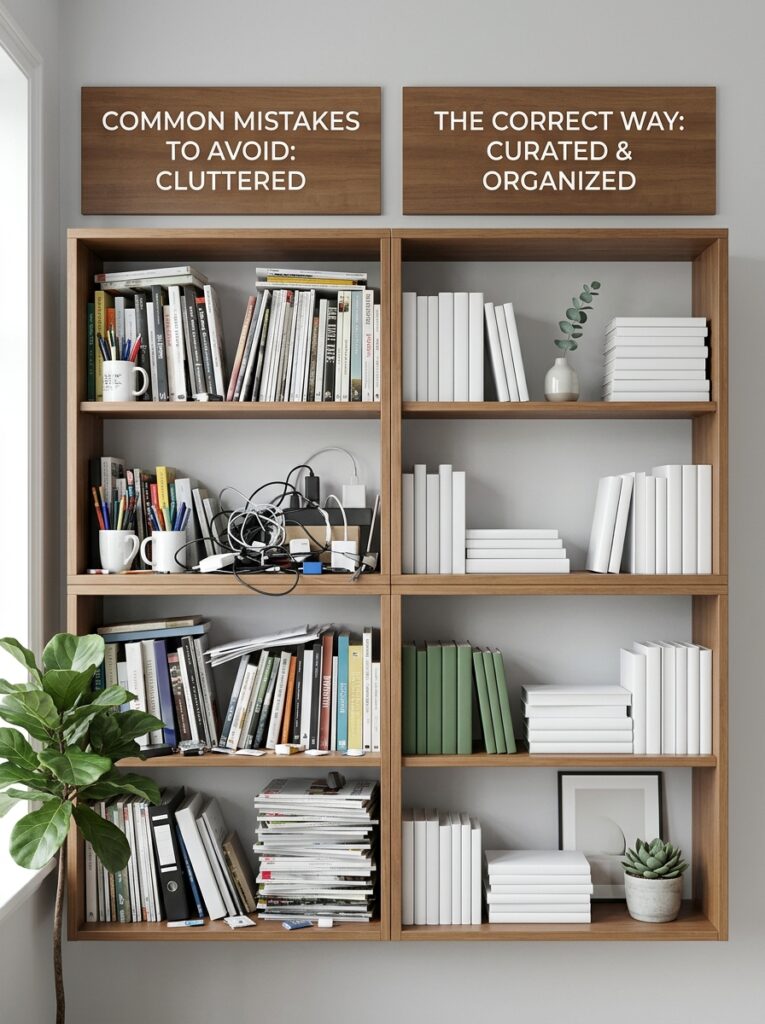
- Overcrowding every shelf — leave visible negative space instead of filling every inch, which is what makes a shelf read as storage instead of display.
- Mixing too many colors and patterns — stick to two or three tones so the shelf reads as one cohesive display.
- Mounting into drywall alone — always anchor into studs for anything holding real dishware weight.
- Placing shelves directly above a heavily used stove — grease buildup will undo the aesthetic within weeks.
- Displaying everyday clutter like mail, medication, or mismatched plastic containers, which instantly reads as mess rather than styling.
A Sample Open Shelf Styling Plan, Shelf by Shelf
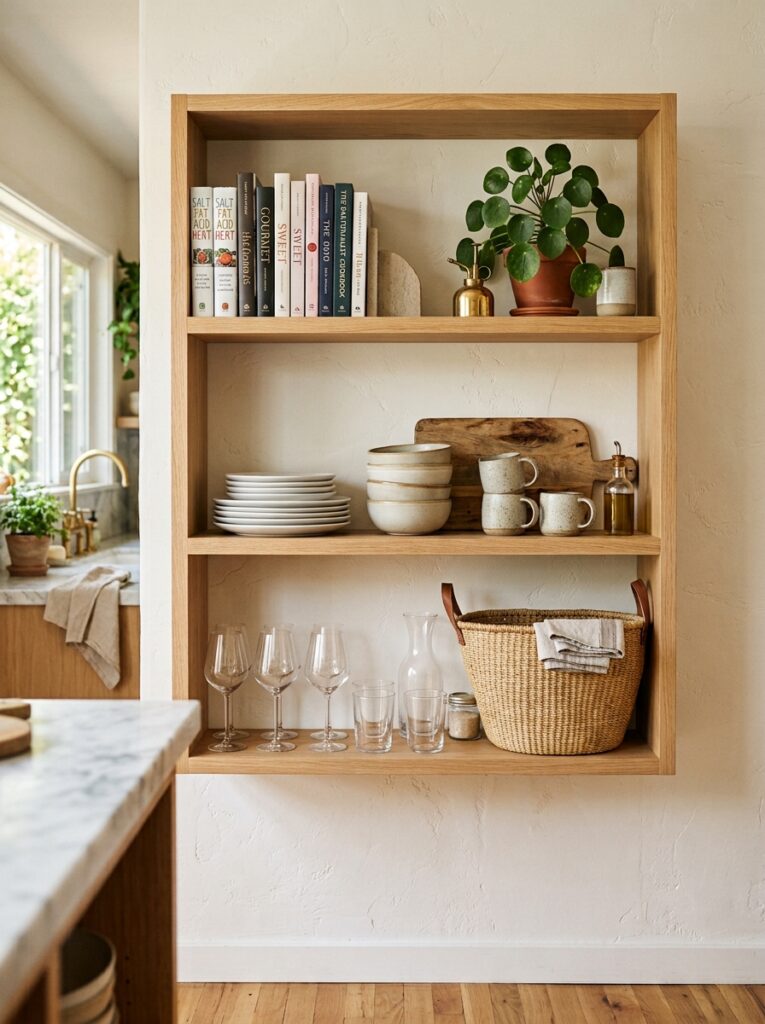
Here’s a simple three-shelf layout that works in most kitchens: on the top shelf, place a cookbook stack with a small plant leaned against it for height variation. On the middle shelf, style three to five pieces of everyday dishware — plates leaned upright in a stand, with a stack of bowls beside them. On the bottom shelf, keep it functional with daily-use glassware or mugs, styled in a loose grouping rather than a rigid line, with one small object like a ceramic creamer or a woven basket to break up the repetition. If you have a fourth shelf or a wider run, use it for overflow storage styled the same way — a stack of linen napkins, a second small plant, or a set of matching canisters — rather than letting it become a catch-all for anything that didn’t fit elsewhere. If you want to go further, how to style a kitchen countertop covers it in detail.
Frequently Asked Questions
Is open shelving hard to maintain?
It requires more upkeep than closed cabinets — a weekly wipe-down keeps dust and grease from building up, and placing shelves away from direct stove splatter cuts down on maintenance significantly.
What weight can floating shelves hold?
Most floating shelf brackets are rated for 25–50 pounds when anchored into wall studs — always check the specific bracket’s rating before loading heavy stoneware or cookbooks.
Can renters install open shelving?
Yes — heavy-duty adhesive brackets, freestanding shelving units, and tension rod systems all offer the look without drilling permanent holes, though it’s always worth checking your lease first.
How many shelves should I install in one run?
Two to three shelves per run keeps the look airy and intentional — stacking four or five tends to turn open shelving into a solid wall that loses the original visual benefit.
What’s the biggest mistake people make with open shelving?
Overcrowding every shelf and mixing too many colors and patterns — both instantly make a shelf read as clutter instead of styled display.
How much does it cost to add open shelving to a kitchen?
A basic DIY project runs $60–$150 for a small kitchen using pre-made floating shelf kits, making it one of the most budget-friendly kitchen updates available.
Does open shelving hurt or help home resale value?
It depends on execution and buyer taste — well-styled shelving can photograph beautifully for listings, but choosing removable floating shelves gives you the flexibility to take them down before selling if needed.
Where’s the best place to start with open shelving if I’m new to it?
A coffee or tea station is the easiest starting point — it’s a naturally contained area with less grease exposure, making it a low-stakes place to practice the styling principles above.
Can I combine open shelving with a plate rack or hanging rail?
Yes — a plate rack or hanging rail underneath a floating shelf adds functional storage for mugs or utensils without adding visual bulk, and it’s a good way to make one shelf do double duty in a small kitchen.
What tools do I need to install open shelving myself?
A stud finder, a drill with the right bits, a level, and a tape measure cover most floating shelf installations — pre-made shelf kits usually include the brackets and hardware, so a basic tool kit is all you need beyond that.





One Comment