
How to Cook Chicken Breast So It’s Never Dry Again: Every Method Compared

As an Amazon Associate I earn from qualifying purchases. Some links in this post are affiliate links, at no extra cost to you. If you want to go further, recipes covers it in detail.
Dry, rubbery chicken breast is the single most common kitchen complaint out there — and it’s almost never the chicken’s fault. Chicken breast is lean, which means there’s a narrow window between perfectly juicy and sadly overcooked. Once you understand what’s actually happening inside the meat as it cooks, and pick the right method for the job, dry chicken stops being a coin flip and becomes something you can control every single time. You will find more ideas in kitchen decor.
Why Chicken Breast Turns Out Dry in the First Place
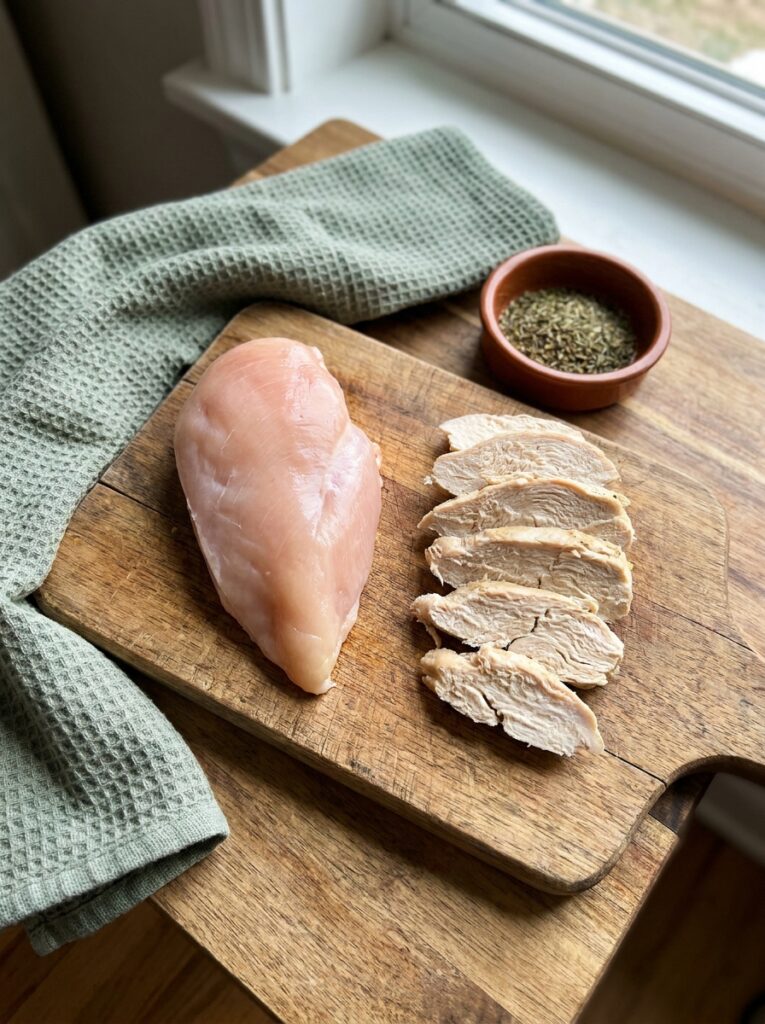
Chicken breast is almost entirely lean muscle with very little intramuscular fat to protect it, unlike thighs or a well-marbled steak. As the internal temperature climbs past about 150°F, the proteins in the muscle fibers tighten and squeeze out moisture — the higher above that point you go, the more liquid gets pushed out and the drier the meat gets. Most dry chicken isn’t undercooked or “tough” in a structural sense; it’s simply overcooked past the point where it can hold onto its own juices. The fix isn’t a secret ingredient or a special cut — it’s stopping the cooking process at the right moment, which every method below is built around.
The One Tool That Fixes Dry Chicken Forever
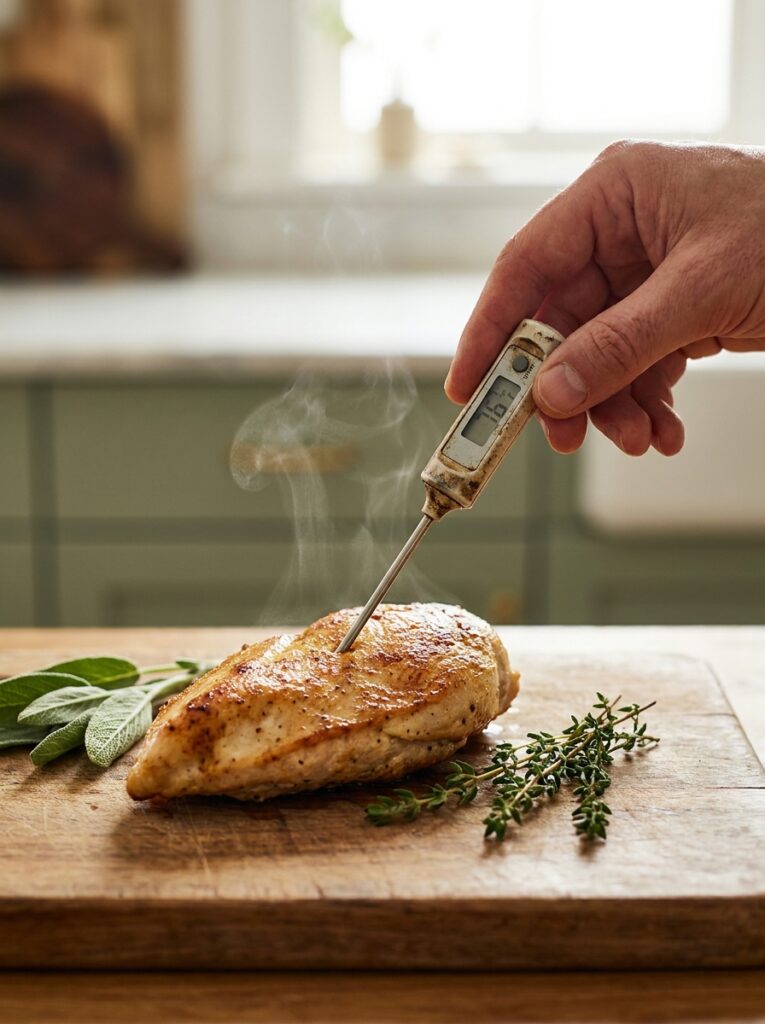
If you take away exactly one thing from this guide, make it this: buy an instant-read meat thermometer. It costs less than a takeout lunch and it removes all the guesswork that leads to overcooked chicken. The USDA safe minimum for chicken is 165°F, but the meat continues cooking for a minute or two after it leaves the heat — a phenomenon called carryover cooking. That means pulling chicken breast off the heat at 160–162°F and letting it rest gets you to a safe 165°F+ without pushing past the point where it dries out.
- Instant-read thermometers give a reading in 2–4 seconds, fast enough to check without losing heat from an open oven or pan.
- Insert it into the thickest part of the breast, away from bone or the cutting board underneath, for the most accurate reading.
- Check multiple spots on thicker or unevenly shaped breasts, since the thinner end will always read higher than the thick end.
- Clean between uses with soap and water or an alcohol wipe, especially when moving from raw to cooked checks.
Pan-Searing Chicken Breast the Right Way
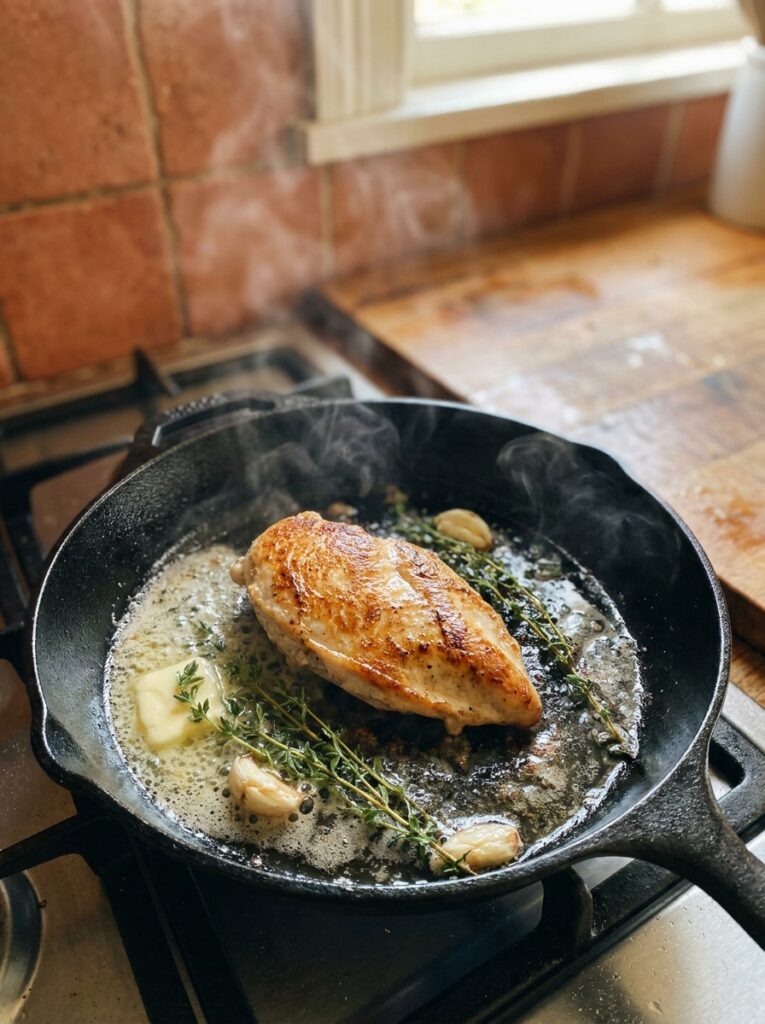
Pan-searing gives the best crust of any method here, but it’s also the easiest one to rush. The trick is starting with a hot — not screaming hot — pan and letting the chicken cook mostly undisturbed so a real crust forms instead of steaming in its own moisture.
- Pat the chicken completely dry before it hits the pan — surface moisture is the enemy of a good sear and just creates steam.
- Use medium-high, not high heat, in a stainless or cast-iron pan with a couple tablespoons of oil, letting it shimmer before adding the chicken.
- Don’t move it for 5–6 minutes on the first side — flipping too early tears the crust that’s still forming and releases the chicken prematurely.
- Flip once, then finish over slightly lower heat for another 5–7 minutes, checking temperature starting around the 4-minute mark on the second side.
- Rest for 5 minutes tented loosely with foil before slicing, which lets the juices redistribute back through the meat instead of spilling onto the cutting board.
Baking Chicken Breast Without Drying It Out
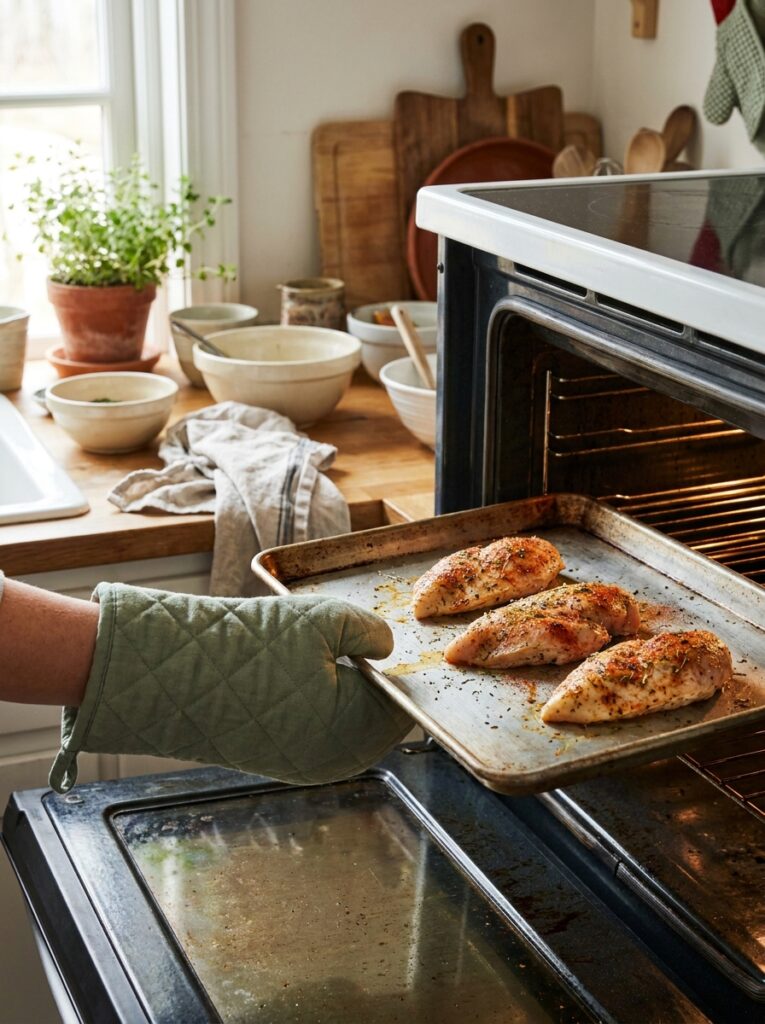
Baking is the most hands-off method, which also makes it the easiest to walk away from and forget — the number one cause of oven-baked dry chicken. A few adjustments make it nearly foolproof.
- Bake at 400°F, which cooks fast enough to develop some color without the long, moisture-sapping cook time of a lower oven temperature.
- Pound breasts to an even thickness first (more on this below) so the thin end doesn’t finish 10 minutes before the thick end.
- Start checking temperature at 18 minutes for an average breast, pulling at 160–162°F rather than trusting a fixed bake time alone.
- A quick sear before baking in an oven-safe skillet, then finishing in the oven, gives you the best of both a browned crust and even, gentle cooking.
- Cover loosely with foil if the tops are browning faster than the inside is cooking through, especially on thicker breasts.
Poaching Chicken Breast for Meal Prep
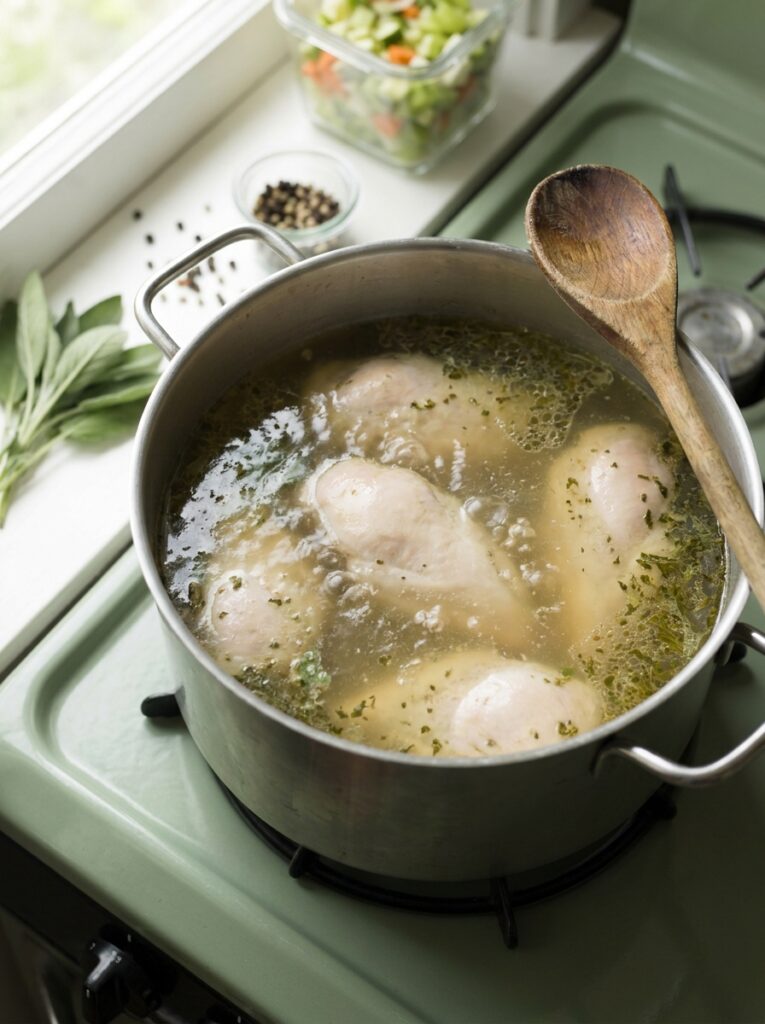
Poaching is the closest thing to a fail-proof method, and it’s the one most worth learning if chicken breast is a weekly meal-prep staple. Because the cooking liquid stays well below a boil, there’s almost no risk of the aggressive overcooking that ruins pan-seared or grilled chicken. See also: meal prep.
- Submerge chicken in cold liquid — water, broth, or a mix — rather than dropping it into liquid that’s already hot, which cooks the outside too fast relative to the center.
- Bring to a bare simmer, never a boil — small, lazy bubbles only. A rolling boil toughens the exterior while the inside plays catch-up.
- Cook for 12–15 minutes depending on thickness, then check temperature and pull at 160–162°F.
- Let it rest in the liquid off the heat for 5 more minutes for extra insurance against drying out, especially useful when prepping a large batch.
- Shred or dice it straight from the pot for salads, wraps, and grain bowls — poached chicken holds moisture better than any other method when it’s going to sit in the fridge for a few days, which pairs well with our high-protein lunch ideas for work.
Air Fryer Chicken Breast for Fast Weeknights
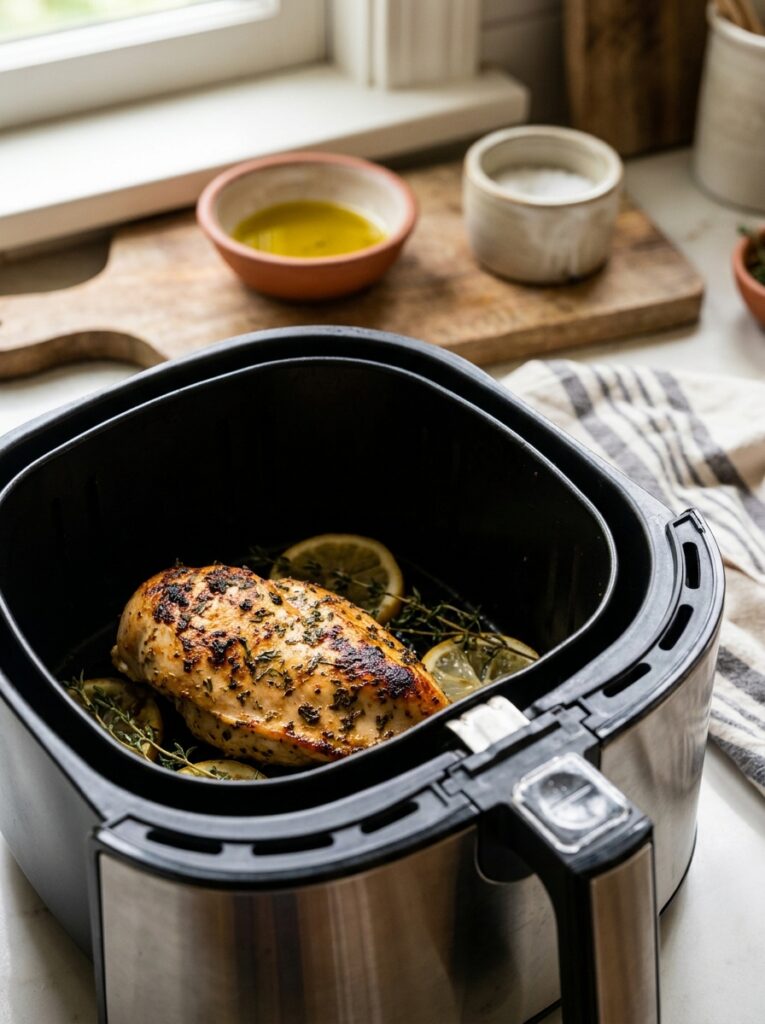
The air fryer’s biggest advantage is speed combined with genuinely good texture — closer to pan-searing than baking, without needing to babysit a skillet.
- Cook at 380°F for 16–20 minutes, flipping halfway through for even browning on both sides.
- Don’t overcrowd the basket — chicken needs air circulating around it, and packed-in breasts steam instead of crisping.
- Start checking temperature around minute 14 for an average breast, since air fryers vary more between models than ovens do.
- A light oil coating helps browning — air fryers work by circulating hot air, and a thin layer of oil gives that air something to crisp against.
- Let it rest 3–4 minutes before cutting, since air fryer chicken carries residual heat almost as aggressively as a pan-seared piece.
Grilling Chicken Breast Without It Seizing Up
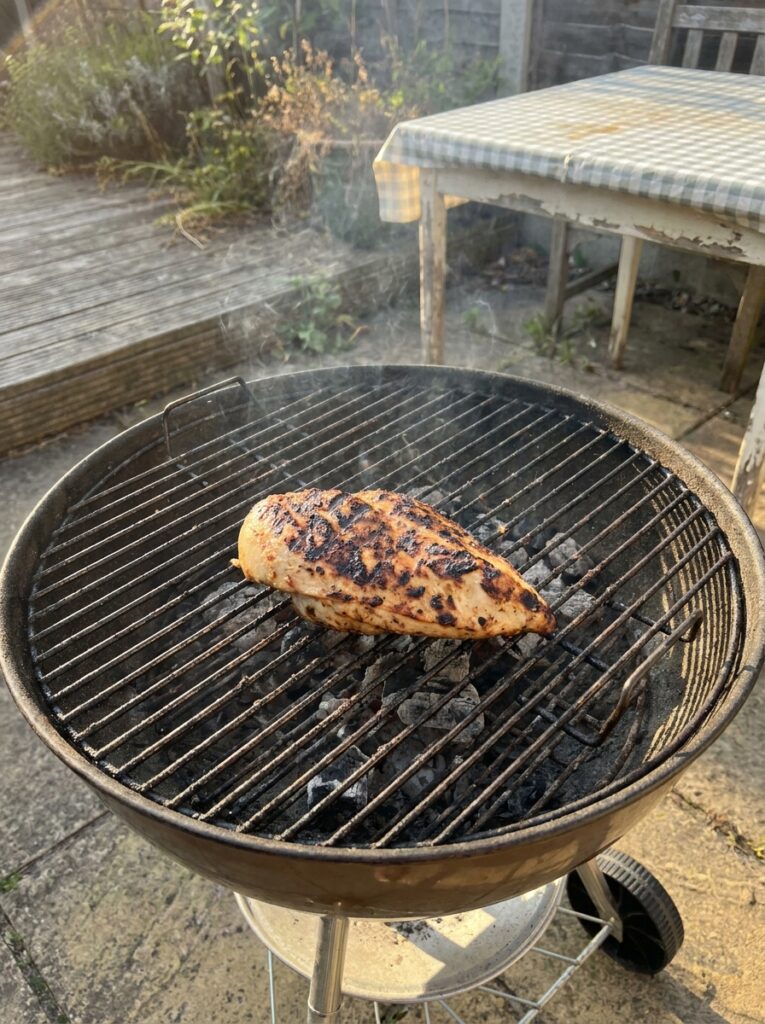
Grilling adds smoky flavor no indoor method can fully replicate, but direct high heat is also the fastest way to blow past the ideal temperature window if you’re not paying attention.
- Pound to even thickness before grilling — this matters more here than with any other method, since grill hot spots make uneven breasts cook unevenly fast.
- Oil the chicken, not just the grates, which helps prevent sticking and tearing when you flip.
- Use two-zone heat when possible — sear over direct high heat for grill marks, then move to indirect heat to finish more gently.
- Flip only once or twice and resist pressing down on the chicken, which squeezes out the very juices you’re trying to keep in.
- Pull at 160–162°F and rest under foil for 5 minutes — grilled chicken dries out fast once cut too early, since a hot grill surface holds heat longer than most people expect.
Instant Pot and Pressure Cooker Chicken for Batch Cooking
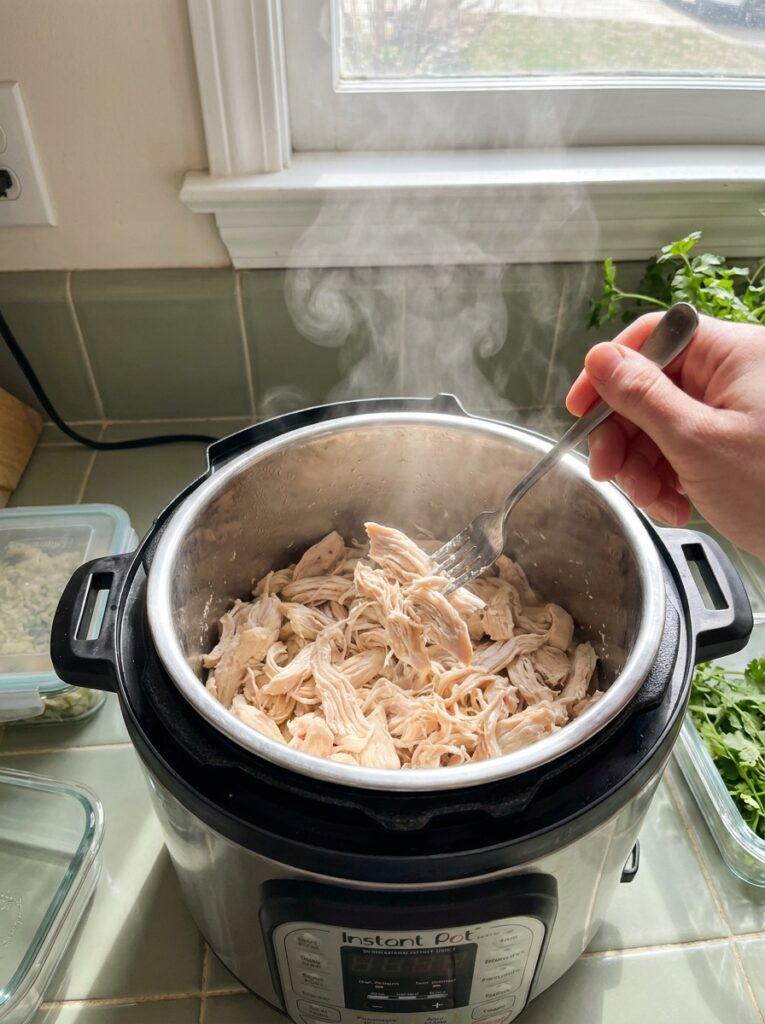
A pressure cooker is the fastest way to cook a large batch of chicken breast at once, which makes it a favorite for anyone building out a week of meal prep ideas for the week in a single session.
- Cook on high pressure for 8–10 minutes for average-sized breasts, with at least a cup of liquid in the pot to build steam.
- Use natural release for 5 minutes, then quick release the rest — a full natural release can push slightly past the ideal doneness window.
- Frozen chicken breasts work too, just add 3–4 extra minutes to the cook time, making this one of the only methods forgiving enough for forgotten-to-thaw nights.
- Shred immediately after cooking while it’s warm and still holding moisture, which is easiest with two forks or a stand mixer on low with the paddle attachment.
- Reserve the cooking liquid and spoon a little back over shredded chicken before storing — it re-moistens the meat significantly over a few days in the fridge.
Brining and Marinating: The Prep Step That Changes Everything
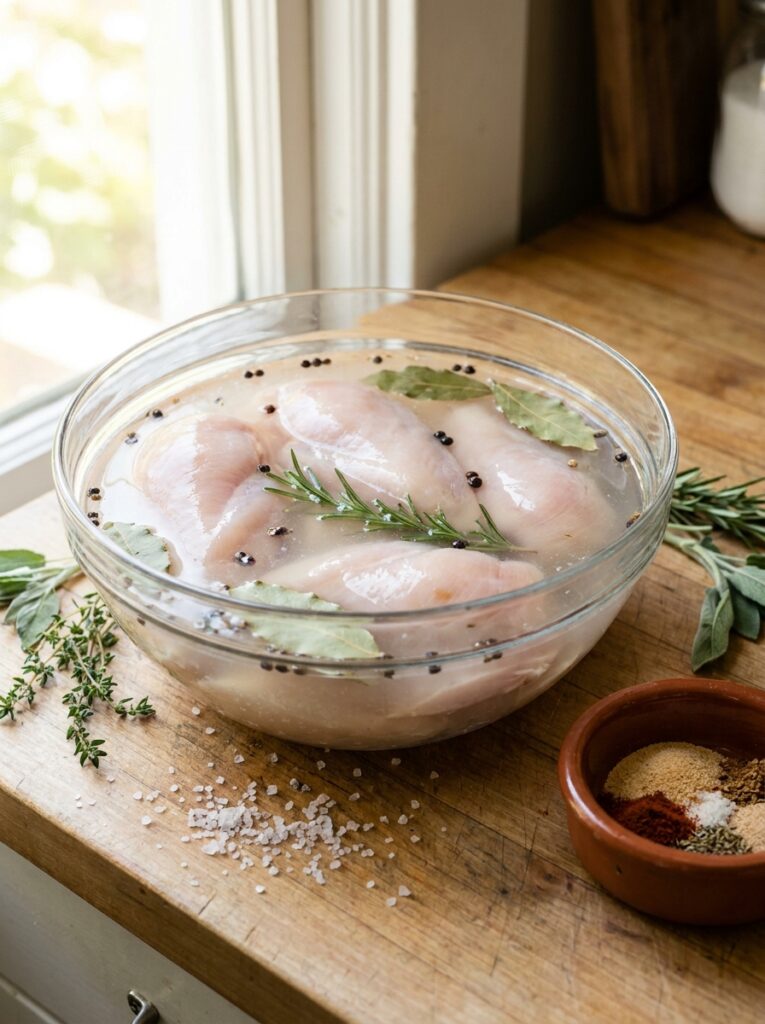
Even the best cooking method has a ceiling on how juicy chicken breast can get without help — brining and marinating raise that ceiling before the pan or oven ever gets involved.
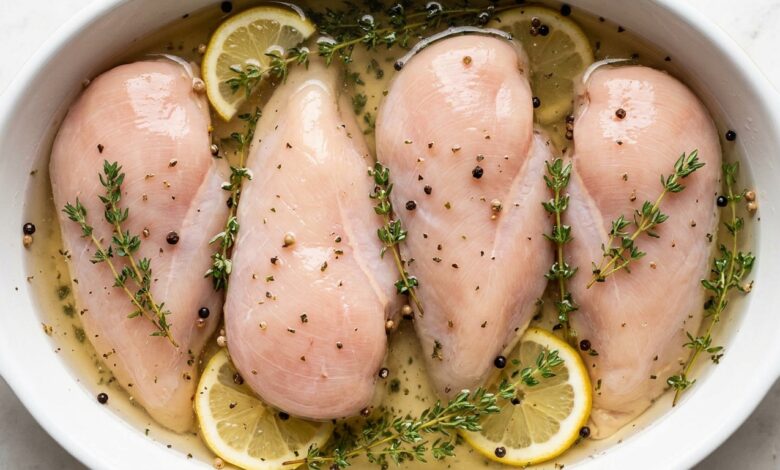
- A basic wet brine is just salt water — roughly ¼ cup of salt per quart of water, submerged for 30 minutes to 2 hours. The salt helps the muscle fibers hold onto more water during cooking.
- A dry brine (salting directly and resting uncovered in the fridge for an hour or more) works almost as well with less mess and no water to drain off.
- Acidic marinades need a time limit — lemon juice, vinegar, or yogurt-based marinades start to break down and mush the texture if left more than a few hours, unlike oil-and-herb marinades which are more forgiving overnight.
- Buttermilk is one of the gentlest tenderizers around, popular for a reason — it’s mildly acidic without the harshness of straight citrus or vinegar.
- Pat dry after brining or marinating before searing or grilling, since a wet surface still fights against getting a good crust.
Cutting and Pounding for Even Cooking
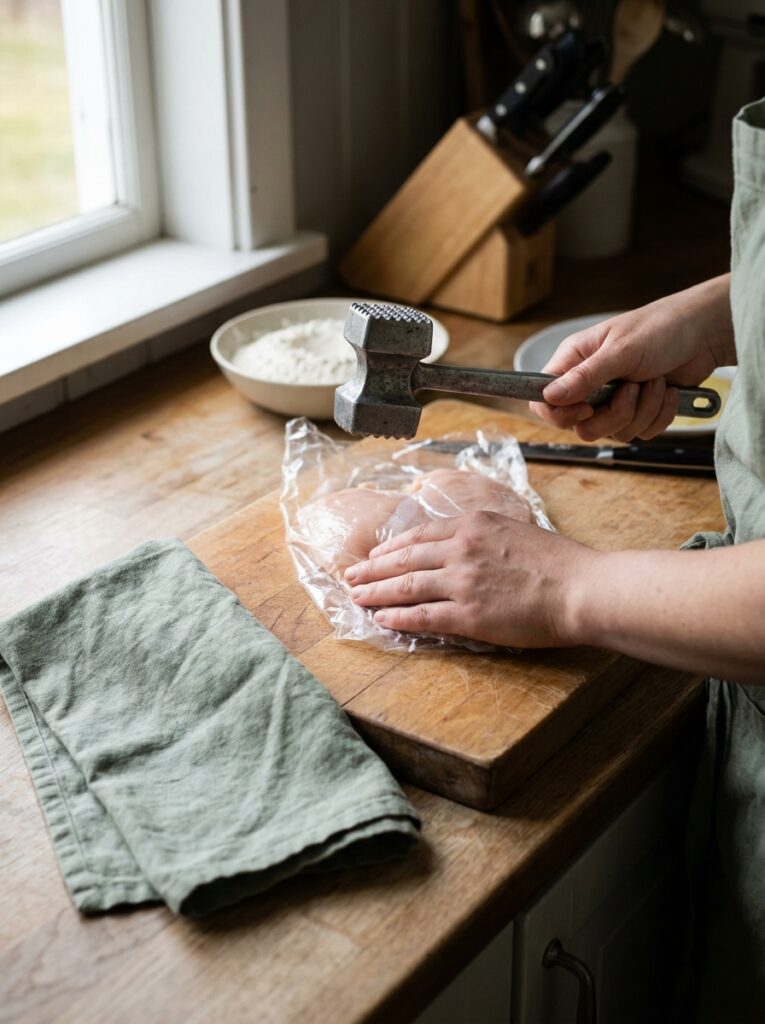
A huge share of “dry chicken” complaints trace back to uneven thickness rather than the cooking method itself — the thin end is finished cooking well before the thick end catches up, so by the time the center hits temperature, the edges are already overcooked.
- Butterfly thick breasts by slicing horizontally almost all the way through, then opening them like a book for a more even, thinner cut.
- Pound between plastic wrap with a meat mallet or the bottom of a heavy pan, working from the thick center outward rather than hammering the same spot repeatedly.
- Aim for roughly ¾-inch even thickness across the whole piece — thinner cooks faster and more evenly, which is especially useful for grilling and pan-searing.
- Cutting into cutlets (slicing a full breast horizontally into two thinner pieces) is a faster shortcut than pounding and works well for quick weeknight sautés.
How to Fix Chicken Breast That’s Already Overcooked
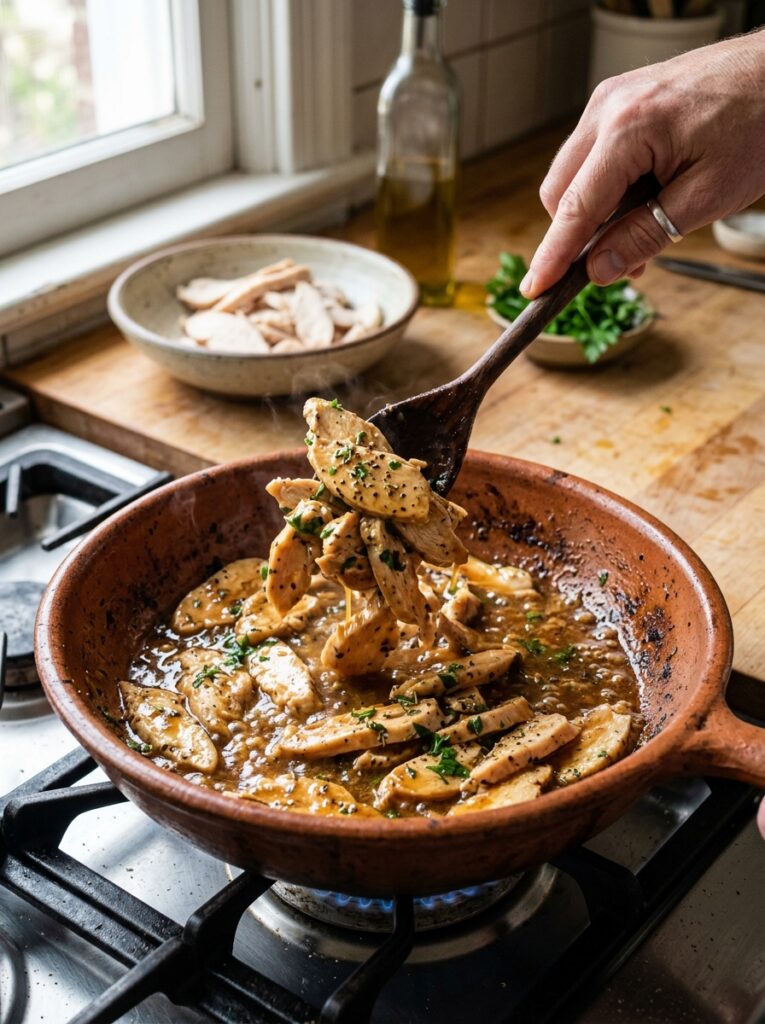
If it’s already dry, there’s still a reasonable recovery — you’re not stuck eating sawdust chicken just because the timing went sideways once.
- Slice thin and toss with sauce — a warm vinaigrette, buffalo sauce, or a simple pan sauce coats the surface and adds back moisture the meat itself lost.
- Shred and simmer briefly in broth — a few minutes in warm liquid rehydrates dry, shredded chicken far better than reheating it dry in a microwave.
- Repurpose into soup or chili — overcooked chicken that would be unpleasant on its own disappears seamlessly once it’s simmered into a liquid-based dish.
- Chop fine for salads or wraps where a creamy dressing like a yogurt-based chicken salad masks dryness far more successfully than serving it as a plain sliced breast.
Storing and Reheating Chicken Breast Without Drying It Out Further
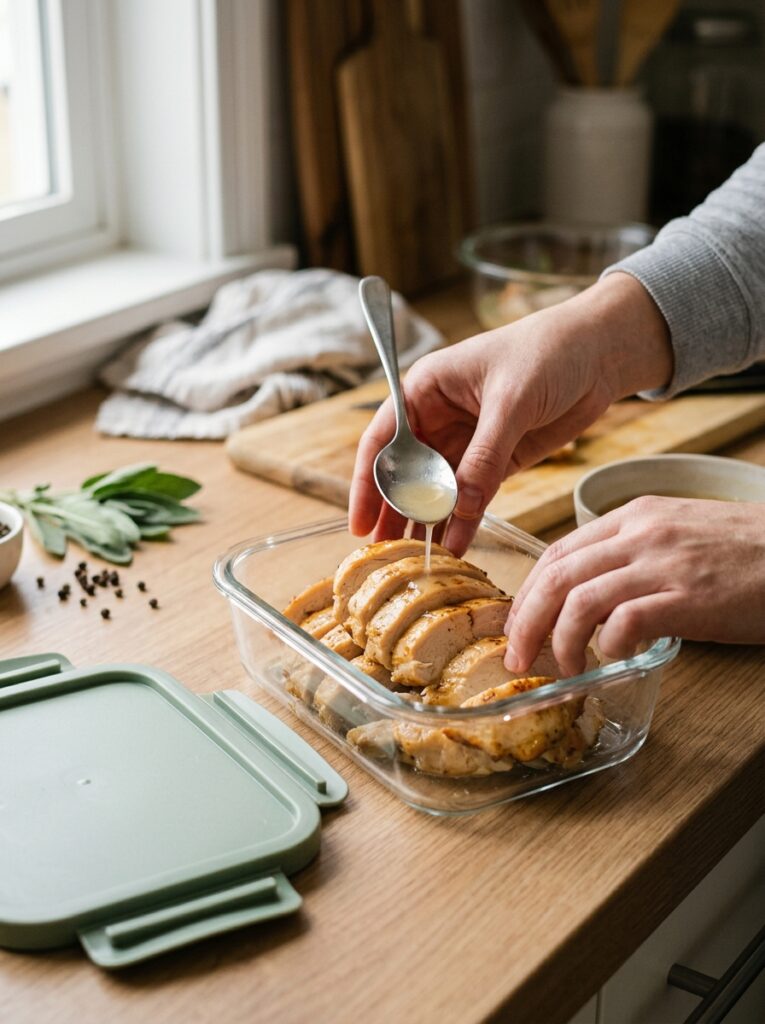
Cooking chicken perfectly and then drying it out in storage or reheating undoes all that careful work, so the finish line doesn’t end when it comes off the heat.
- Cool before sealing — sealing hot chicken traps steam that condenses back onto the surface, which oddly enough speeds up both sogginess and spoilage.
- Store in an airtight container with a spoonful of its own cooking liquid or a light drizzle of broth to keep the surface from drying out in the fridge.
- Reheat gently — a low oven (300°F) or a covered skillet on low with a splash of broth beats the microwave, which tends to cook the edges again before the center is even warm.
- If microwaving is the only option, use 50% power in short bursts and cover with a damp paper towel to trap steam instead of letting it escape.
- Cooked chicken keeps for 3–4 days in the fridge and up to 4 months in the freezer, portioned flat in bags so it thaws quickly for a high-protein dinner under 30 minutes.
A Sample Batch-Cooking Session: 4 Pounds, 4 Different Textures
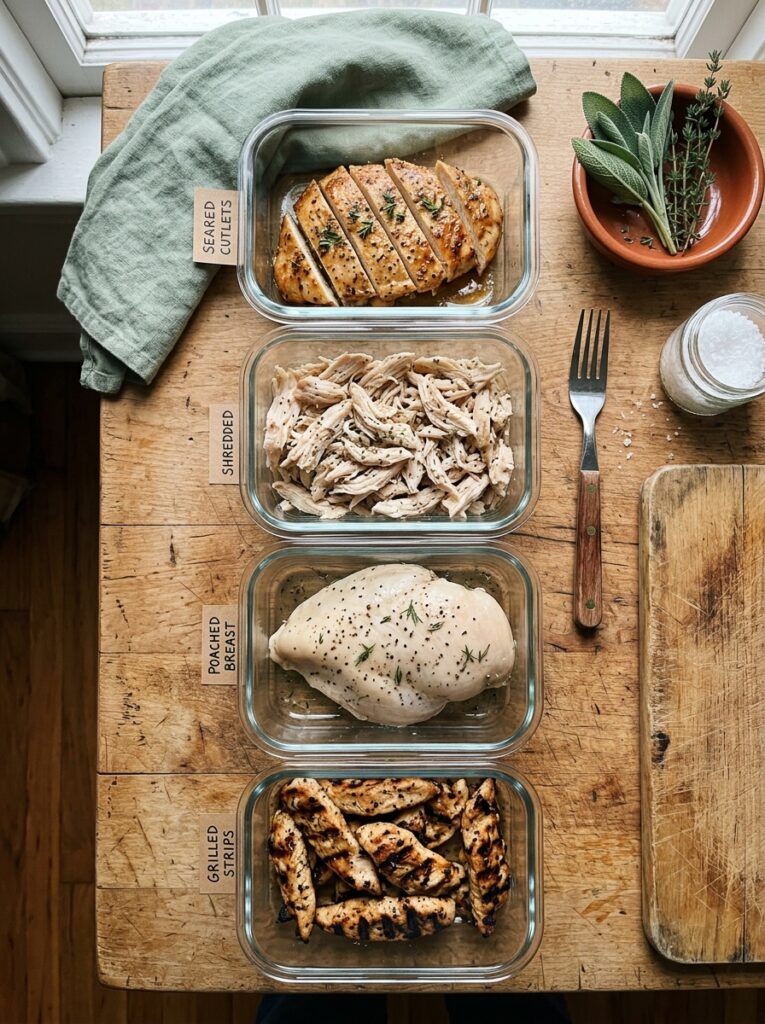
Cooking a big batch of chicken breast doesn’t mean every container has to taste the same by Thursday. Here’s a realistic plan for turning 4 pounds into four genuinely different textures in one session: poach one pound whole for shredding into salads and wraps later in the week, pan-sear one pound of pounded cutlets for a crispy-edged dinner protein, pressure-cook one pound for quick shredded chicken to fold into soups or grain bowls, and marinate the last pound overnight before grilling or air-frying it for a smokier, more flavor-forward option. Store each batch separately so you’re choosing a texture on purpose each day instead of eating the same slab of chicken five days running — the same variety-first thinking behind our guide on meal prepping without getting bored.
Frequently Asked Questions
What temperature should chicken breast be cooked to?
Pull it at 160–162°F and let it rest — carryover cooking brings it to a safe 165°F+ without pushing past the point where it dries out.
Why does my chicken breast always come out dry?
Almost always it’s overcooking rather than a problem with the chicken itself — lean muscle loses moisture quickly once it climbs past about 150°F internally.
What’s the most fail-proof way to cook chicken breast?
Poaching in gently simmering liquid is the hardest method to mess up, since the low, steady heat makes aggressive overcooking much less likely than high-heat methods.
Should I brine chicken breast before cooking?
It helps — even a quick 30-minute salt water brine or a dry salt rub improves moisture retention, especially for higher-heat methods like grilling or pan-searing.
How long does cooked chicken breast last in the fridge?
About 3–4 days when stored in an airtight container, and up to 4 months in the freezer if portioned and sealed well.
Can I fix chicken breast that’s already dry?
Yes — slicing it thin and tossing with sauce, simmering it briefly in broth, or folding it into soup or a creamy chicken salad all help mask and improve dryness after the fact.
Do I need a meat thermometer to cook chicken breast well?
It’s the single best investment for consistently juicy chicken — it removes the guesswork that leads most home cooks to overcook it out of caution.
What’s the best way to reheat chicken breast without drying it out more?
A low oven or a covered skillet with a splash of broth works far better than the microwave, which tends to overcook the edges before the center is even warm.





One Comment